
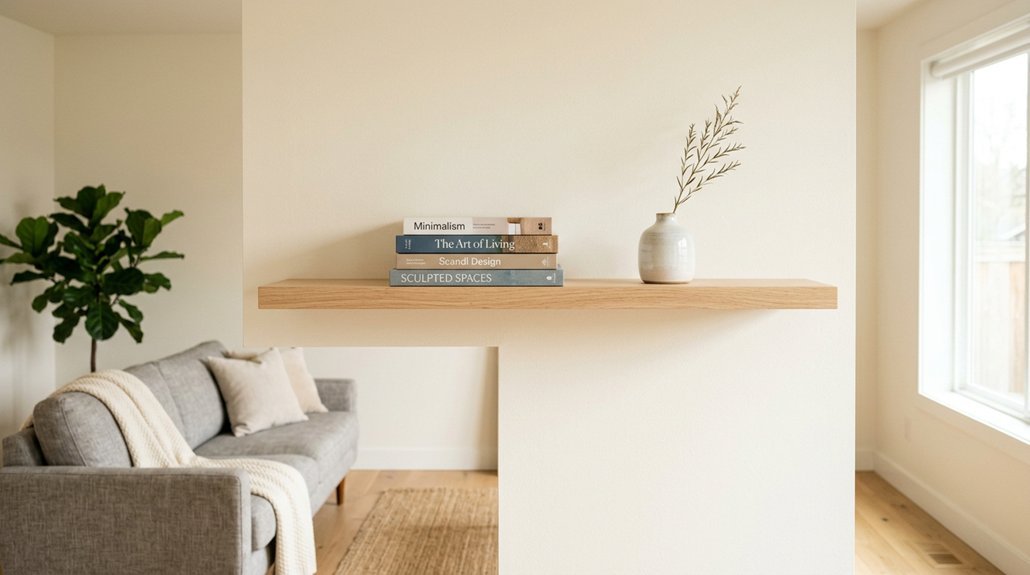


Floating shelves are the blank canvas of your wall, promising order but demanding precision. You’ll measure your tallest item, add three inches for clearance, and build upward from there.
Yet the real tension lies in what happens when you ignore the studs beneath the drywall. Most guides stop at “12 to 18 inches,” but your books, plates, and trailing plants each whisper different numbers, and one misjudged bracket turns the whole display into a sagging regret.
The spacing question is simpler than it seems, and harder than it looks.
How Far Apart Should Floating Shelves Be? Start With Your Items
Why guess at shelf spacing when your stuff can tell you exactly what it needs? You start by measuring the tallest item you’ll place on each floating shelf, then add 2 to 3 inches for breathing room. That’s your baseline.
Vertical Spacing Guidelines
General range: 12 to 18 inches for most items
Smaller items: 8 to 12 inches
Larger items: 18 to 24 inches
Room-Specific Adjustments
Kitchen and bathroom floating shelves need tighter vertical spacing. Bathroom toiletries typically fit at 10 to 12 inches. Kitchen dishes and bottles dictate their own gaps.
Visual Balance
Plan your vertical spacing so focal shelves hit 4 to 5 feet from the floor, right at eye level. For gallery-style walls, keep consistent 10 to 14 inch gaps between shelves while varying heights for visual interest.
Recommended Products

Maximize Your Space: 6.7"D x 15.7"W x 1.5"H. 6.7" depth, ideal for books, baskets, toilet paper, or towels. Includes 2 shelves for optimal use of space

Material: Medium Density Fiberboard, outlasts wood in damp bathroom environments
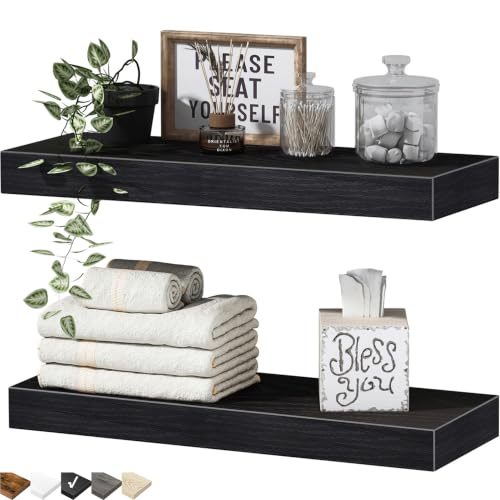
Maximize Your Space: 6.7"D x 15.7"W x 1.5"H. 6.7" depth, ideal for books, baskets, toilet paper, or towels. Includes 2 shelves for optimal use of space
The Fast Formula: Measure Tallest Item Plus 3 Inches
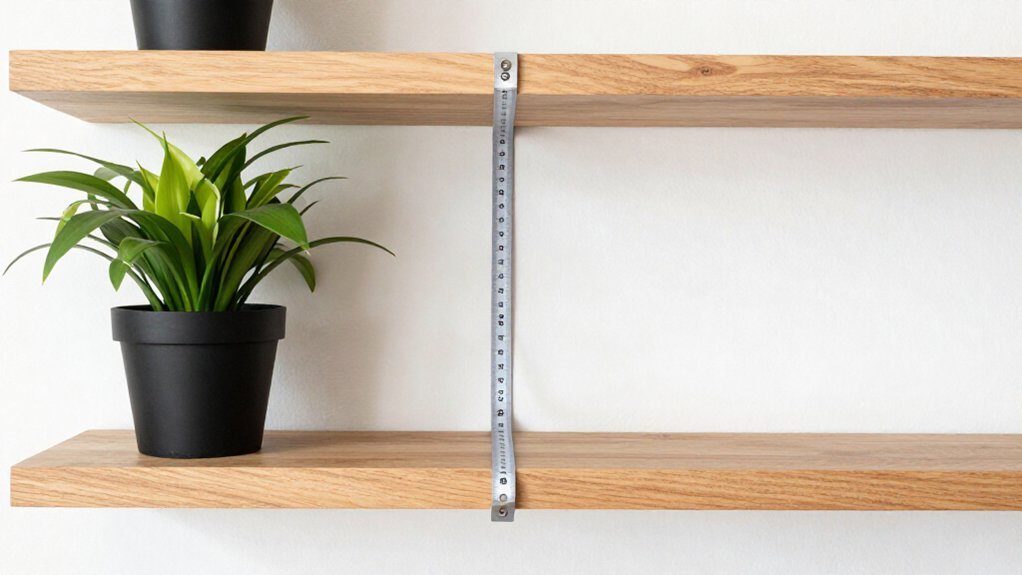
The fastest way to nail your shelf spacing, every single time, is this: grab the tallest item you’re planning to store, measure it from base to top, then add 3 inches. That extra space gives you breathing room, so nothing feels squished, and you can grab things without knocking stuff over.
This spacing formula works because it tailors each gap to what actually lives there, not some random number. You measure the tallest item per shelf, add your buffer, and you’re done. No guesswork, no cramped rows.
If you’re stacking multiple shelves, repeat the same calculation each time. You’ll keep everything consistent, with easy access and a clean look. Skip this step, and you’ll fight tight spaces every day.
Recommended Products

More space for meal prep: This set of 2 wall mounted shelves moves spices, oil bottles and everyday containers onto the wall, freeing kitchen counter space. Carbonized Black paulownia wood and black iron brackets add contrast to bright, modern spaces.

RAISED RAILS FOR EVERYDAY STORAGE: Front and side metal rails help keep bottles, jars and small decor from sliding off the shelf edges. The open space above the rail lets you lift items out when needed.

Patent Pending. Modern & Elegent Stylish: The wine glass shelf is made of sturdy steel and high quality wood.The delicate manufacturing process adds luxurious & elegent look style to your living room entryroom ect.
How Far Apart Should Floating Shelves Be by Room?
That quick formula gives you a solid baseline, but your room’s purpose changes the math.
Living Room
You need 12 to 16 inches of spacing between shelves. This creates balanced display space and comfortable viewing angles for your decor.
Kitchen
Plan for 15 to 20 inches of vertical spacing. You’ll fit larger items, pots, and appliances while keeping everything within easy reach.
Bathroom
Use 10 to 14 inches between shelves. This organizes toiletries without crowding your limited wall space.
Bedroom
Space your shelves 12 to 18 inches apart. This range handles books, decor, and accessories of varying heights.
Gallery Wall
Stick to a consistent 10 to 14 inches between shelves. This builds a cohesive, repeatable rhythm across your wall.
Match your spacing to each room’s function, and you’ll maximize both storage and visual appeal.
Recommended Products

Living Space Expanding: With double-layer design floating book shelves for wall, it makes more full use of your wall space. Different from other giant bookshelves, it can hang your books on the wall, saving space and making your room more neat and stylish.

MODERN CORNER ZIGZAG DESIGN: These 5-tier radial corner shelves create a sleek zigzag profile that transforms any 90 degree corner into vertical display space for bathrooms, bedrooms, and living rooms, helping add storage for decor and daily essentials without taking up floor area or widening the room footprint

【Wall Mounted Display Shelf】Turn your empty wall into a stylish display space with this LED wall mounted shelf. Designed for showcasing collectibles, figures, gaming accessories, photos, cosmetics, and decor, it adds a personal touch to gaming rooms, bedrooms, living rooms, and offices.
How High Should the Bottom Floating Shelf Be?
Where exactly should you position that bottom floating shelf? You’ll want to start by considering your room’s purpose and existing furniture.
For standalone wall displays, place your bottom shelf 18–24 inches above the floor. This creates clean sightlines and keeps items within easy reach.
If you’re building around furniture, maintain that same 18–24 inch gap above the surface. You’ll achieve visual cohesion this way.
For eye-level displays meant for examining objects closely, position the bottom shelf 48–60 inches from the floor. Adjust based on ceiling height and nearby pieces.
Apply the floor-to-shelf rule: keep 18–24 inches between the floor and your bottom shelf. This maintains balanced vertical proportions.
For full floor-to-ceiling arrangements with base consoles, start lower, around 12–16 inches above the floor.
Recommended Products

Elevate Room Aesthetics - Boasting a unique design and elegant silhouette, these wall shelves become the focal point, upgrading any room's decor. Perfect for spaces like living rooms, bedrooms, bathroom, studies, and more.

Premium Material: These floating shelves for wall are crafted from durable MDF wood with a smooth waterproof surface, resistant to daily scratches, moisture and deformation. Dust, water stains and cosmetic residues can be easily wiped away to maintain a fresh look for long-term use, making them suitable for humid environments like bathrooms.

How Close to the Ceiling Should the Top Shelf Go?
Once you’ve locked in your bottom shelf height, you’ll want to figure out where the top shelf lands. Aim for 8–12 inches of ceiling clearance. This range delivers balanced, intentional display without cramping your wall.
Gaps under 8 inches read as a miscalculation, while 12 inches signals deliberate airiness. You’ll want that visibly proportional margin above the top shelf. It cuts dust collection and locks in visual framing across your whole installation.
Check your ceiling features before you commit. Crown molding, lighting fixtures, or door trim demand adjustments to keep your visual framing cohesive. Don’t let the top shelf crowd these elements; pull it down slightly if needed.
This ceiling clearance choice frames your shelving unit properly. It turns a basic storage solution into something that looks planned, not patched together.
Recommended Products

【Premium Anti-Rust Black Powder Coated】These floating shelf brackets feature a matte black powder coated finish that forms a tough all-around protective barrier that fends off rust, corrosion, scratches and chipping to sustain reliable long-term performance

The bracket has a 1" backplate and is designed for use with boards 1.5" thick or more.NOTE: The board thickness we refer to is the actual (not nominal) size.

【Suitable For 2*4” Wood Studs】Goovilla hidden shelf brackets is desiged with a 1.57*1.38” backplane. The small size and 3 close together screw holes match the narrow 2×4 inch (actual size is 1.5*3.5” ) wood studs thoroughly.
Should Floating Shelves Be Evenly Spaced or Staggered?
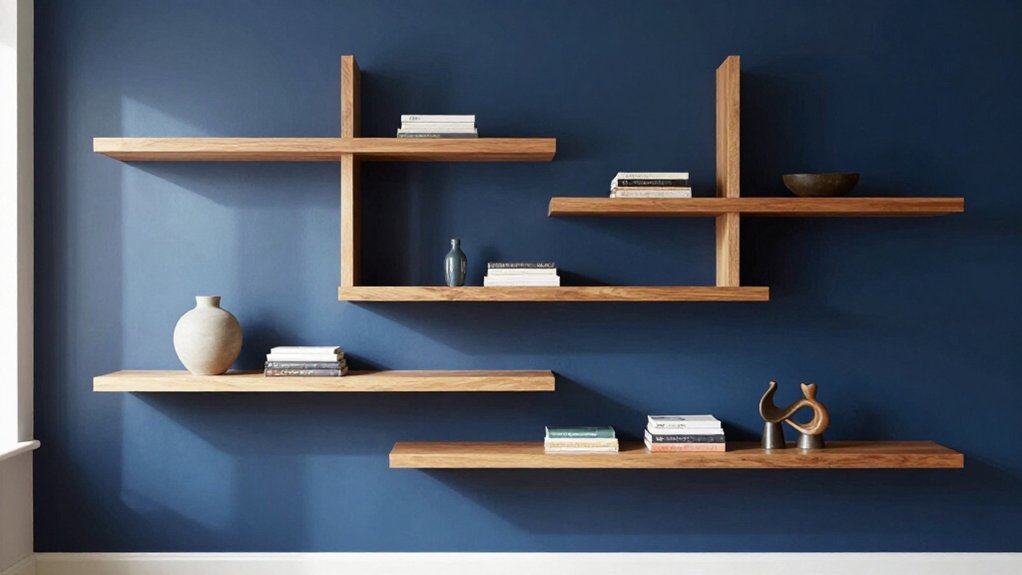
How you space your shelves depends on what you’re storing, and where. Even spacing yields a clean, built-in look, and it works well for kitchens, pantries, and galleries that favor uniformity. Staggered spacing creates visual interest, and it suits living rooms or display walls with mixed item sizes especially well.
When two or more shelves form a unit, vary the vertical gaps to accommodate different item heights and avoid a rigid grid. Use the tallest item per shelf to guide spacing, allowing a 2–3 inch buffer for easy access and air around items.
Balance between equal and varied spacing by aligning overall wall rhythm and ensuring shelves do not crowd key features like windows or mirrors.
Recommended Products

𝐄𝐱𝐩𝐚𝐧𝐝 𝐒𝐩𝐚𝐜𝐞 𝐚𝐧𝐝 𝐌𝐨𝐝𝐞𝐫𝐧 𝐃𝐞𝐬𝐢𝐠𝐧: With clean lines and a warm finish, these small bathroom shelves expand wall space in dry bathroom zones and double as stylish bathroom organizers and storage. Effortlessly organize towels, toiletries, and decor with the invisible bracket that creates a sleek, modern display appearing to float seamlessly on your wall — perfect for over the toilet bathroom organizer setups and completing your bathroom wall decor

[Excellent Quality for Long Lasting Use] - Our floating shelves are handcrafted from sturdy and durable MDF - sure to become an old companion that brings you a comfortable and durable experience. The metal rails are forged from the toughest steel and powder coated to prevent rust over time. We provide more stable and stronger construction - Each shelf is strong enough to hold up to 20 pounds with ease! Toilet paper, picture frames, and small greenery can be placed at will.

[Excellent Quality for Long Lasting Use] - Our floating shelves are handcrafted from sturdy and durable MDF - sure to become an old companion that brings you a comfortable and durable experience. The metal rails are forged from the toughest steel and powder coated to prevent rust over time. We provide more stable and stronger construction - Each shelf is strong enough to hold up to 20 pounds with ease! Toilet paper, picture frames, and small greenery can be placed at will.
How to Find Studs and Space Shelves Horizontally
Before you mount anything, you need to know what’s inside your wall. Grab a stud finder, or use the knock test, to locate your studs. They’re usually 16 inches apart, sometimes 24.
Mark each stud clearly. These marks will drive your horizontal spacing decisions, because solid mounting depends on them. Don’t rely on drywall anchors alone for heavy loads; they’ll sag or pull away.
Plan your shelf layout so each shelf hits at least two studs. When possible, align multiple shelves with the same stud line for consistent, sturdy support. If your desired spacing falls between studs, install blocking between them first.
Your mounting is only as strong as what it’s anchored to. Let the studs guide you, and you’ll build shelves that hold weight without worry.
Recommended Products

Patent - pending. Retro & Classic Stylish: The wine glass shelf is made of sturdy steel and baking finish reclaimed wood.The delicate manufacturing process adds vintage look style to your living room entryroom ect
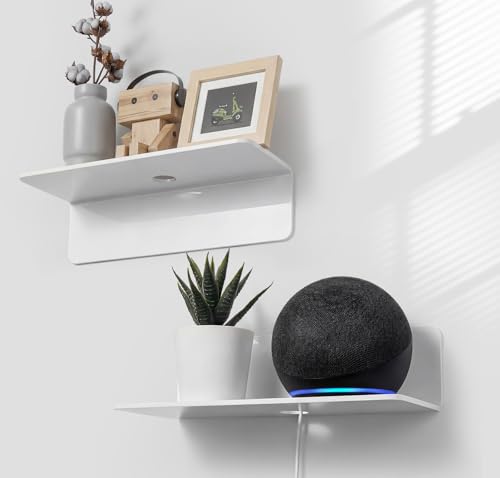
PROFESSIONAL QUALITY: The white floating shelves are made of high-quality acrylic with sturdy double-sided tape that is very reliable to hold up to 8 pounds.
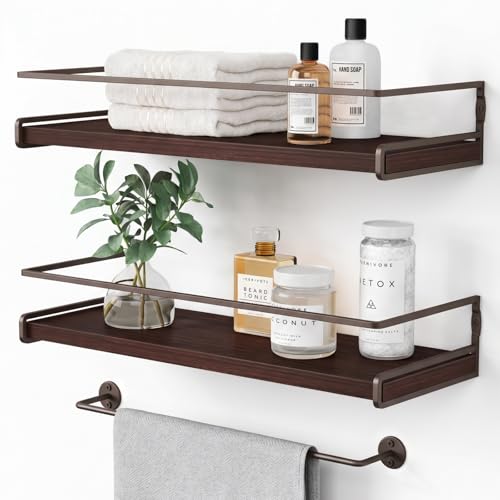
【Premium Material & Protection Design】The floating kitchen shelves are crafted from high-quality painted solid pine wood with a water-resistant finish (Dimensions: 6" D x 15.7" L x 2.6" H). The heavy-duty metal brackets feature protective guard rails to keep items securely in place. These kitchen floating shelves are built to last, supporting up to 20 lbs. on solid drywall or concrete walls.
Spacing Mistakes That Start With Bad Mounting Choices
Mounting on studs first determines every spacing decision that follows—skip them, and your shelf layout fails from the start.
Why do shelves sag weeks after installation? You skipped stud mounting, and now you’re paying for it. Drywall anchors alone can’t handle meaningful weight, so your spacing decisions collapse along with the shelf.
Always locate studs first. Your horizontal spacing gets dictated by where those studs sit, 16 or 24 inches apart, center to center. Miss a stud, and you’re forced into awkward, unstable intervals, or worse, front-edge sag that ruins your entire layout.
Blocking between studs fixes this, but you need it before you plan shelf positions. Misplaced initial mounts create visual imbalance you can’t correct later.
Plan spacing around secure mounting points. Measure twice, drill once into actual studs. This prevents the pull-away that destroys your carefully calculated intervals and forces complete reinstallation.
Recommended Products

【Wall Mounted Display Shelf】Turn your empty wall into a stylish display space with this LED wall mounted shelf. Designed for showcasing collectibles, figures, gaming accessories, photos, cosmetics, and decor, it adds a personal touch to gaming rooms, bedrooms, living rooms, and offices.

【Innovative Design】: Our floating bookshelves will transform the way you display and store your favorite books, and break the traditional bookshelf restrictions, you just stack your books onto the sturdy metal shelf, and then the shelf will become hidden behind the books, which make your books look like floating on the wall, funny and amazing to use.

【HERO OF NARROW SPACES & GAPS】: Stop wasting doorways and corners. This Floating Shelf is a masterpiece of space optimization, measuring 39.3 inches tall, 9.85 inches wide, The height between each floor Partition 11.4 inches.Dimensions of each shelf: 9.3 inches × 9.85 inches.Partition thickness: 1.2 inches. Available in two colors: white floating shelves.black floating shelves.Perfect for studio apartments ,floating shelves for wall, shelves for bedroom, or creating a tall wall shelf display in cramped hallways