
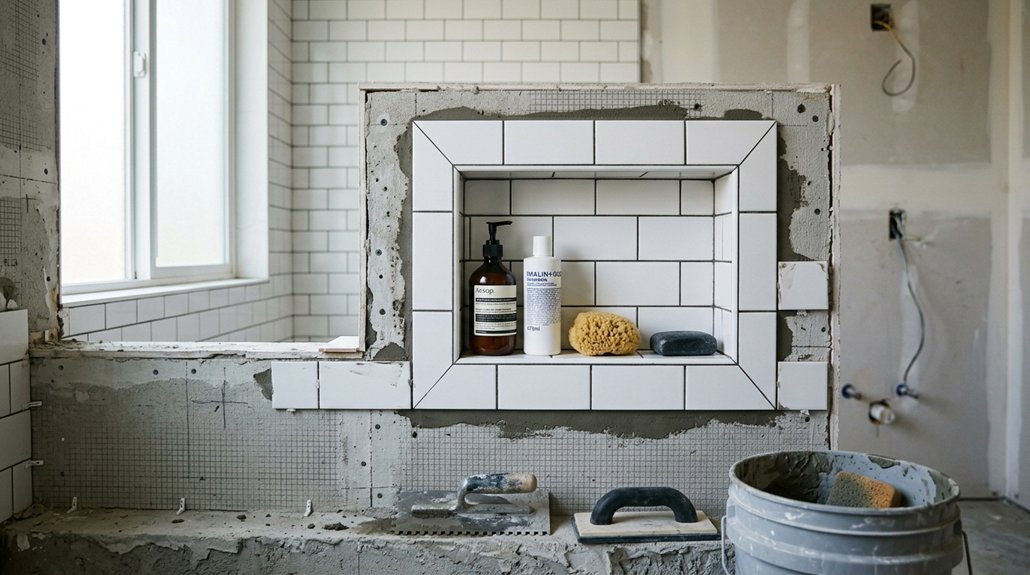


You have probably walked past a hundred tiled shower niches without noticing, and that is exactly the point: done right, they look effortless. You will need to plan your layout, frame with doubled studs at roughly 13 inches wide, and waterproof every seam. Then tile in a specific order: sill first (sloped slightly for drainage), back wall next, sides, then ceiling. Seal all edges with silicone, and you are set.
Plan Your Shower Niche Type and Tile Layout First
Where do you start with a shower niche? You start with a plan.
Choose Your Niche Type
You pick between built-in or preformed shower niche options. You place it on the longest wall, away from the valve, outside the splash zone. For exterior walls, you’ll add waterproofing and insulation.
Set Your Dimensions
You target niche dimensions around 13 inches wide, 12 inches in backerboard, roughly 11 inches after tiling. You aim for 3.5 inches finished depth, with height for your tallest bottles.
Align with Structure
You check studs alignment, adjusting framing for 12 inches internal width. You add support studs for stability, keeping sides plumb.
Plan Your Tile Layout****
You integrate the tiling pattern with your overall tile layout, minimizing tile cuts and aligning grout lines. You map thin-set mortar application for seamless results.
Recommended Products

MULTI-USE. The XFasten Basement wall moisture barrier can be used as a waterproofing material for decks, underlayment tile, heat sensitive tile, cement board, shower walls, pans, liners, niche, and curbs, RV surface, and other hard to reach curve surfaces.

our waterproof membrane comes with 6in standard narrow width & exclusive 35in extra wide width for your choice. The 35in wide roll drastically reduces splicing seams during large-area installation, effectively lowering hidden water leakage risks and cutting your construction time by half. We provide 4 complete size combinations (18/54/108/325 sq ft coverage) to fit small bathroom touch-ups, full shower renovation, and large commercial sauna projects, ideal for both DIY homeowners and professional contractors.

Pre-Sloped Base Design: Upgrade your bathroom with the W-S Shower Niche by GURU USA; The shower niche features a 1.9% pre-sloped base, ensuring proper water drainage and preventing any unwanted moisture buildup
Frame and Waterproof the Niche for Your Installation Method
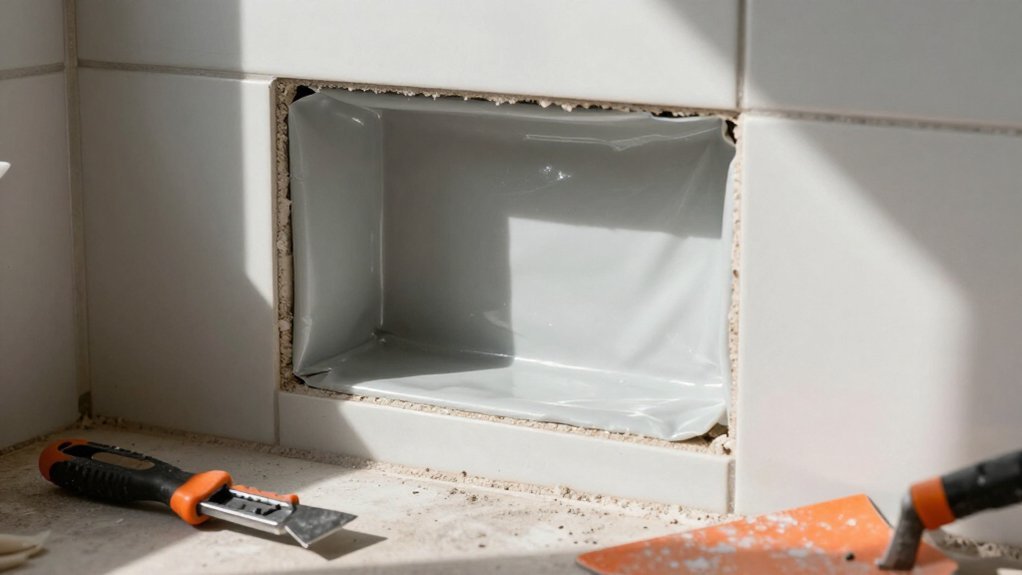
How do you make sure your niche won’t leak? You start with solid shower niche framing.
Position the niche away from spray, plumbing, and load-bearing walls. Align it with your longest wall for better tile layout. Frame with solid double studs on both sides, adjusting stud bays to about 13 1/8 inches if needed. Check that everything is plumb and level.
Install niche bracing at the bottom with a slight 1/16-inch slope front-to-back to prevent pooling. Prepare the base perimeter with a Z notch for proper alignment. Cover surfaces with tile backer board, then apply a waterproofing membrane, extending it beyond the opening.
Use compatible systems like Wedi Subliner and sealant for waterproof transitions. Inspect carefully; continuity at corners and seams determines your success.
Recommended Products

Long-Term Coverage - Backed by a 10-year limited warranty against manufacturing defects when installed per the Schluter Installation Handbook and Technical Data Sheet, following all guidelines and industry standards in effect at the time.

Perfect Fit for Shower Niche Shelf: The niche shelf is designed for use with Schluter-KERDI-BOARD-SN/SNLT 20″and 28″shower niches. This niche shelf for tiled showers ensures seamless compatibility with models like SNS1D5MGS, SNS1D5EB, SNS1D5MBW, SNS1D5TSBG, SNS1D5TSC, SNS1D5TSSG, SNS1D6MGS, and SNS1D6EB

ALL-IN-ONE STORAGE SOLUTION: One-piece shower niche with recessed shelf
Tile the Shower Niche: Sill, Back Wall, Sides, Then Ceiling
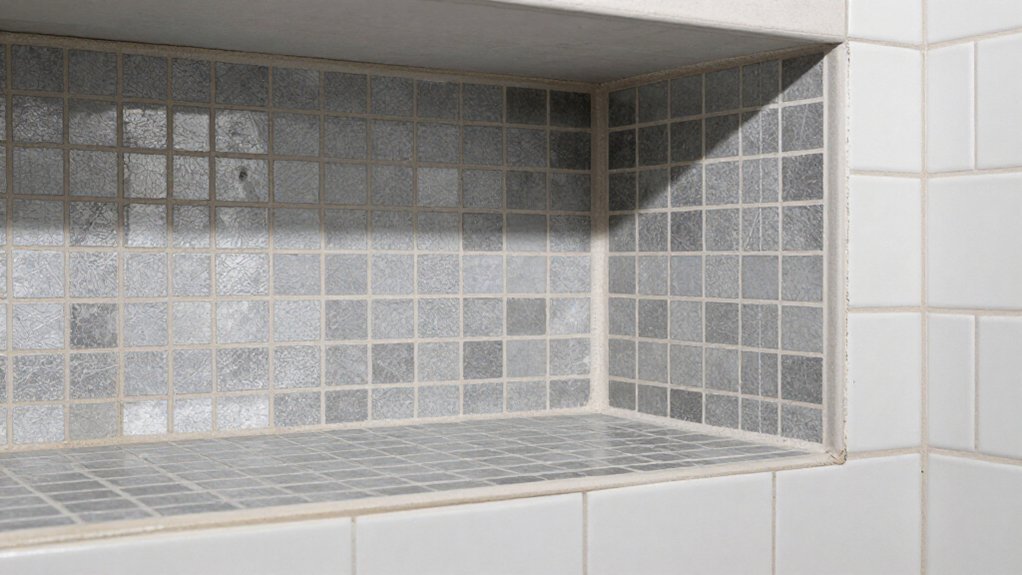
Once the waterproofing’s fully cured, you’ll tile the niche in a specific order: sill first, then back wall, sides, and ceiling last. Start with the back wall, spreading thinset evenly and combing it before back-buttering the sill tile for a solid seat. Set the sill tile with a slight downward tilt, about 1/16 to 1/12 inch toward the outside, so water drainage stays effective and water won’t pool.
Next, tile the sides, keeping each row aligned with surrounding wall tiles, checking level, and using spacers for even grout gaps. Finish the shower niche by cutting ceiling tiles to fit, verifying straight edges and clean transition at the top. Complete these tiling steps, then cure the grout per manufacturer instructions before sealing.
Recommended Products
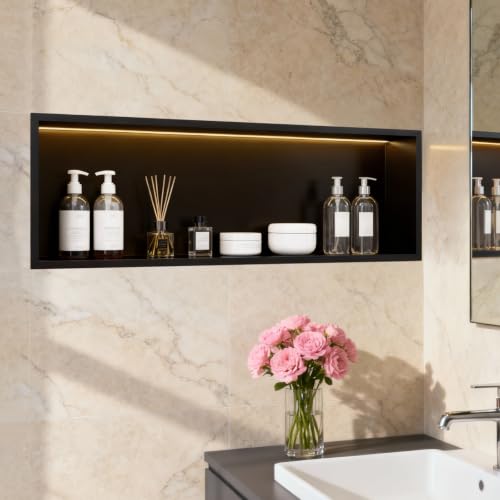
【3000K Warm Light LED Shower Niche】HOFULIVING led shower niche kit includes 1* 36" X 12" stainless shower niche for wall, 1*RF wireless touch remote control(need 2*AAA batteries, not included), 1*2.4GHz LED RF controller, 1*24V DC LED driver; 1*16FT/5m power cord, 1*screwdriver, 1*user manual.

Sealed and 100% Waterproof: VEVOR shower bays use XPS extruded foam board, cement mortar, waterproof coating triple waterproof substrate, 100% sealed and waterproof, which not only can protect the wall and extend the service life of the wall but also effectively prevent water penetration into the wall, keep the indoor dry and sanitary. NOTE: This product is not ready for direct use and requires the application of protective materials, such as tiles, on the surface before use!!!

【 What's In The Package】Bernkot black led niche kit includes a stainless shower niche 36", a led transformer/ driver,which is UL LISTED with 16ft output wire cable and a Led light strip. Horizontal niche.
Seal and Finish to Stop Leaks and Protect Your Work
Precision matters most when you’re locking out moisture. You place a small bead of sealant around the outside edge before seating the shower niche, then apply sealant around the entire perimeter after placement to create a watertight barrier. Wipe away excess sealant around the perimeter after setting the niche for a clean, professional finish.
For extra protection, optionally apply an additional bead of silicone sealant along the top edge. Use silicone-based sealant, not acrylic caulk, for better flexibility and mold resistance in wet environments. When waterproofing, extend the waterproof membrane beyond the niche opening and seal all joints to maintain continuous water resistance.
Your niche installation demands attention at edges and around the niche where grout lines meet. This seal and finish step locks in your waterproofing, stops leaks, and protects your work long-term.
Recommended Products


SIMPLE INSTALLATION – Pre-fabricated shower niche that is fully sealed, hassle-free, quick and easy installation; makes traditional tedious shower niche installation effortless!

Creative Flexibility: This niche requires tiling. Using the same tiles as your wall creates a seamless and consistent look for a unified bathroom aesthetic. Choosing different tiles allows you to personalize the space and highlight your unique style.