
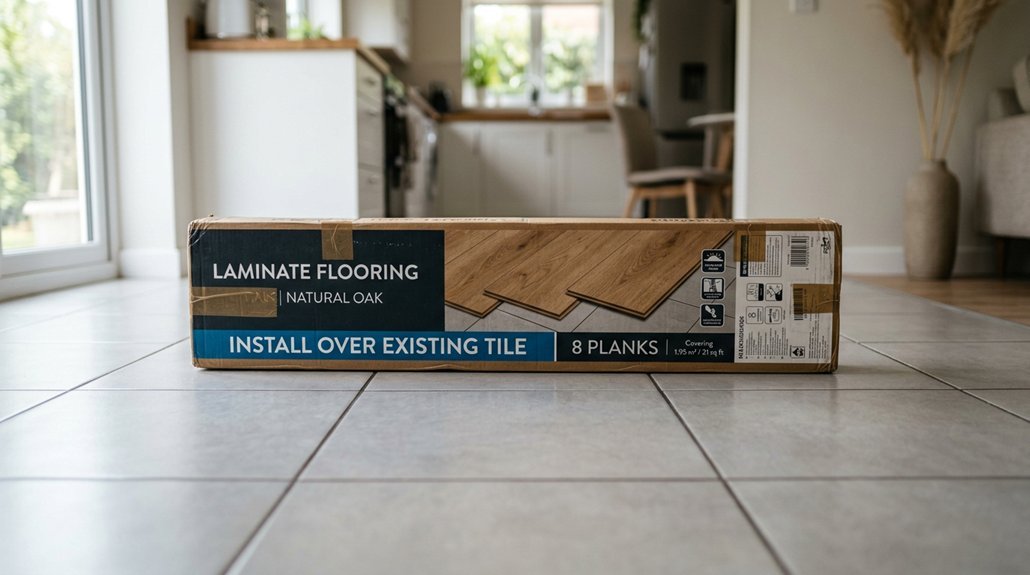


You might worry that tile removal is unavoidable, but that’s not always true. You can install laminate directly over existing tile if the surface is solid, level, and firmly attached. Check for hollow spots, loose edges, or cracks first.
You’ll need a moisture barrier underlayment, 1/4-inch expansion gaps around walls, and transition strips at doorways. The real question is whether your specific tile qualifies, or if removal is your only safe option.
When Laminate Over Tile Works (and When It Doesn’t)
How do you know if your tile floor is ready for laminate? You check that it’s flat and level, with no worrisome damage hiding beneath the surface.
A flat, level tile floor with no hidden damage is the foundation your laminate needs.
When Laminate Over Tile Works
You can install laminate over tile when your existing floor is solid, stable, and properly prepared. This approach saves you time, labor, and the mess of tile removal. You’ll want to clean the tile thoroughly, fill grout lines with leveling compound, and sand any high spots. Maintain a 1/4-inch expansion gap around the room’s perimeter.
Use underlayment with a built-in moisture barrier to protect against moisture, reduce noise, and improve comfort underfoot. The subfloor beneath the tile must be sound.
When It Doesn’t Work
You shouldn’t proceed if tiles are loose, damaged, or unstable. These conditions create an unreliable base, and your new laminate will buckle or crack. Fix or remove problem tiles first.
Recommended Products

For use as a vapor barrier when installing Vinyl, laminate, SPC and engineered wood flooring
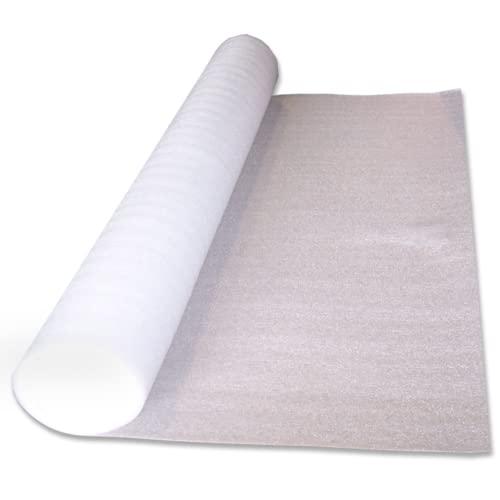
Multipurpose Foam Underlayment – Ideal for laminate and engineered wood flooring; bridges minor subfloor imperfections for a smoother surface.
Check Your Tile for Cracks, Looseness, and Level
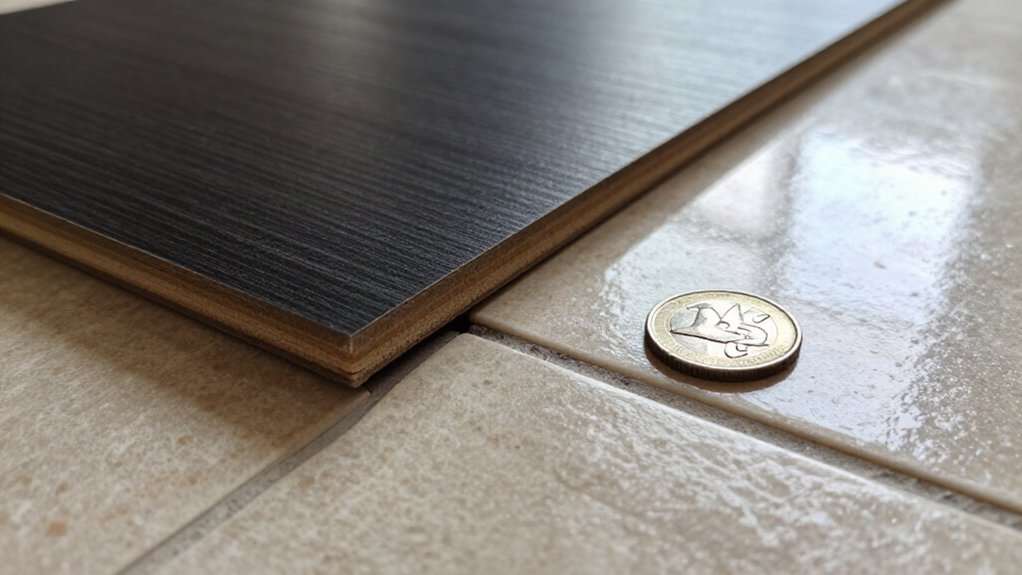
Before you lay a single plank, you’ll need to inspect your tile like you’re checking a used car: thoroughly, skeptically, and with attention to hidden flaws.
Walk every inch of the floor, feeling for movement or shifting underfoot. This signals an unstable base that’ll wreck your laminate later. Tap tiles with a rubber mallet, listening for hollow sounds; these reveal loose tiles with poor adhesion. Spot cracks, chips, or missing pieces? These weaknesses compromise support for your new floor. Mark every problem area with tape.
Check for a level surface using a long level or straightedge. Major dips or uneven spots, anything exceeding 3/16 inch over 10 feet, will cause buckling or cracking in your laminate. You’re identifying issues now, not fixing them yet.
Recommended Products

🔨【1/4 Inch& 1/2 Inch】Different from other triangular spacers, our gaskets are available in 2 sizes, 1/4 inch and 1/2 inch, Meet your needs for larger gaps. and the quantity is 20pc, which is enough for you to use. Let you install your laminate wood flooring more conveniently and easier.

ONE SET FITS MOST FLOORS: These floor spacers fit laminate, LVP, vinyl plank, engineered hardwood, tile, bamboo and floating floors, so one kit covers the floor types you actually lay—no need to match a different spacer to each floor

1/4 INCH & 1/2 INCH DESIGN: The flooring spacers include 1/4 inch and 1/2 inch gaps from the wall, can provide an appropriate expansion gap between the floor and the wall, to avoid damage.
Clean, Level, and Repair Your Tile Surface
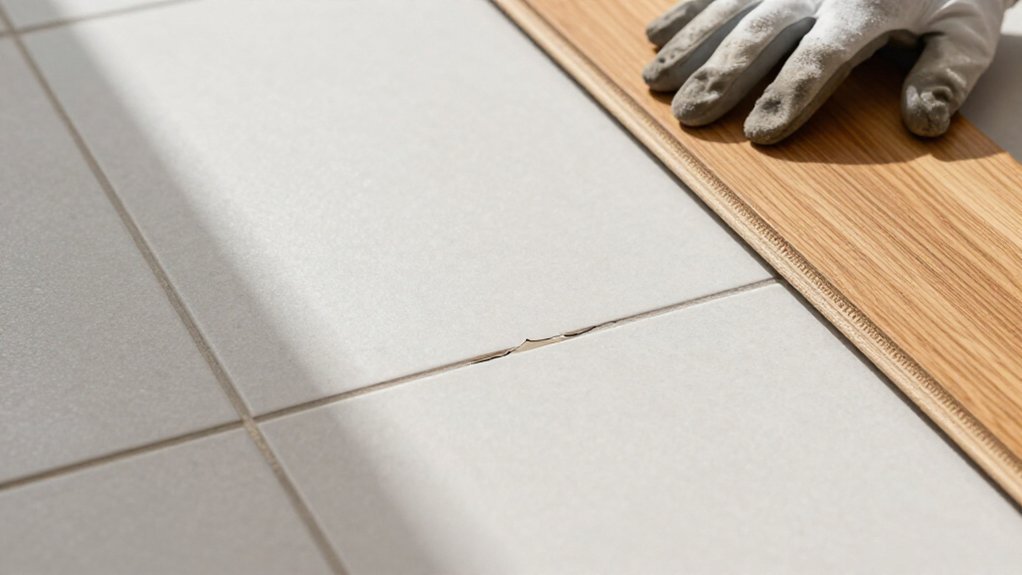
Once you’ve marked every problem spot, you’re ready to fix what you found. Start your repairs by removing loose tiles completely, then reattach them with fresh thin-set mortar. Tap surrounding tiles with your rubber mallet to catch any hidden hollow sounds you missed earlier. Replace cracked or chipped pieces entirely; partial fixes won’t hold up under laminate pressure.
Remove loose tiles completely, reattach with fresh thin-set, and replace cracked pieces entirely—partial fixes won’t hold up under laminate pressure.
Clean every inch of the tile surface thoroughly. Sweep away dust, degrease thoroughly, and ensure the area stays completely dry for 24 hours minimum. Moisture trapped beneath your underlayment causes mold and warping, so don’t rush this step.
Check your level again after repairs settle. You’re aiming to prepare a surface that’s flat within 3/16 inch across any 10-foot span.
Finally, mark your 1/4-inch expansion gaps around all walls before proceeding.
Recommended Products

SEAMLESS TRANSITIONS WITH MAXIROC - Effortlessly bridge the gap between different flooring types with our advanced adhesive technology. No more tripping hazards or unsightly gaps. Achieve a professional finish.

Premium PVC Material - Lightweight, durable, and water-resistant. Not wood, ensuring long-lasting quality and performance.

SEAMLESS TRANSITIONS - Effortlessly bridge the gap between different flooring types with our advanced adhesive technology. No more tripping hazards or unsightly gaps. Achieve a professional finish.
Choose Underlayment for Laminate Over Tile
Why does underlayment matter so much? It bridges your tile substrate and new laminate, managing moisture, sound, and comfort.
Foam: Lightweight, budget-friendly, often includes a built-in moisture barrier. Good for low-traffic rooms.
Cork: Thicker (3-6mm), resists mold, dampens sound effectively. Solid choice over tile.
Rubber: Dense, durable, excellent for busy hallways and kitchens. Handles wear without compressing.
Felt: Warm and cushioned, but verify it carries a moisture barrier; not all do.
When you shop, check four things: moisture protection (critical over tile), thickness (typically 2-3mm minimum), sound ratings, and compatibility with your specific laminate product.
Your tile substrate must be sound, but the laminate underlayment you select determines how the floor feels, sounds, and lasts. Match the material to your room’s traffic and moisture exposure.
Recommended Products

For use with wood subfloors only, to reduce vapor flow without trapping moisture


✔ Self sealing adhesive tape for ease of installation
Install Laminate Over Tile Step by Step
First, you’ll assess your tile condition, checking for cracks, loose pieces, or hollow sounds that could cause problems later.
Next, you’ll prepare the surface by cleaning thoroughly, filling grout lines with leveling compound, and letting everything dry completely.
Finally, you’ll install the flooring using underlayment with a moisture barrier, maintaining that critical 1/4-inch expansion gap around every edge.
Recommended Products


Tile Levelling Expertise: this package includes 1 tile levelling plier, ideal for floor and wall tile setting, It ensures the flatness between tiles and reduce movement during the mortar solidification process.

Fiber-reinforced self-leveling floor underlayment for increased durability, tensile strength, and flexural performance
Assessing Tile Condition
How do you know if your tile is ready for laminate? Start by checking tile condition and flatness, since these determine whether your new floor will last.
Walk the surface and look for cracked, loose, or pulling-up tiles. Tap each tile with a rubber mallet, listening for hollow sounds that signal poor adhesion. Mark any problem spots; you’ll need to remove or re-adhere them before proceeding.
Inspect grout lines and the tile surface for damage. Fill gaps and repair chips to create a stable, uniform base. Without this preparation, your laminate could buckle or crack later.
Finally, confirm the area is clean, dry, and free of dirt, grease, and moisture. This ensures proper underlayment adhesion and protects laminate performance. Skip this step, and you’re risking costly callbacks.
Preparing the Surface
Where do you start once you’ve checked your tile? You prepare the surface, because skipping this step guarantees problems later.
First, you clean the tile thoroughly with tile cleaner, then vacuum every speck of dirt and debris. You need a spotless base before any moisture barrier touches the surface.
Next, you tackle leveling. You press leveling compound into grout lines with a grout float, filling every imperfection. You let it dry per the manufacturer’s instructions, then sand high spots and recheck flatness with a level. You repeat until the surface is uniformly flat.
Here’s your preparation checklist:
- Inspect tiles by walking the floor, listening for hollow sounds
- Clean with tile cleaner, then vacuum completely
- Fill grout lines with leveling compound
- Sand high spots, recheck with a level
- Maintain a 1/4-inch expansion gap, keep the surface dry before adding your moisture barrier
Installing the Flooring
Now that your tile’s prepped, you’re ready to lay the foundation for your new floor. Roll out your underlayment wall to wall over the tile, choosing foam, cork, rubber, or felt with a moisture barrier built in. Seal the seams with underlayment tape; this blocks moisture and cushions your laminate flooring.
Maintain a 1/4-inch expansion gap around the entire room perimeter. You’ll need this space because floors expand and contract with temperature changes. Install transition strips at doorways to manage height differences between rooms.
Start your first row of laminate planks along the longest wall. Stagger the joints by at least 12 inches between rows; this creates stability and a natural look. Cut planks accurately with a saw, measuring twice before cutting once.
Place spacers against walls, then remove them after installation. Finish with baseboards or moldings to cover gaps and complete the job.
Prevent Buckling With Proper Expansion Gaps
Why do laminate floors buckle over tile? You’ll prevent this common problem by respecting how laminate expands and contracts with temperature changes. The hard, unforgiving tile beneath creates unique challenges, so you must prepare carefully.
You need a flat surface before you start. Any dips or high spots trap stress, causing the laminate to buckle when it expands. Check your levelness after any leveling compound dries, then sand and recheck. You’re building a stable base for proper movement.
Use spacers during installation to hold your expansion gap open. These simple tools keep the perimeter clear while you work, preventing the boards from binding against walls.
Follow these critical steps:
- Maintain 1/4-inch expansion gaps around every wall and fixed object
- Use spacers consistently during installation to preserve gap width
- Ensure completely flat surfaces before laying any boards
- Recheck levelness after compound cures and sanding completes
- Install transition strips at height changes to reduce edge stress
Recommended Products
Wood-Safe, Clean Removal: Sporting a hardwood-safe and residue-free silicone adhesive, our carpet tape for hardwood floors secures area rugs without sticky residue, preserving the look of wood floors when rugs are lifted for cleaning.


Compatible with Luxury Vinyl, Laminate & Engineered Wood – Ideal for LVP, LVT, SPC, WPC, rigid core, and multilayer flooring (4mm+). Supports floating, glue-down, and nail-down installations.