
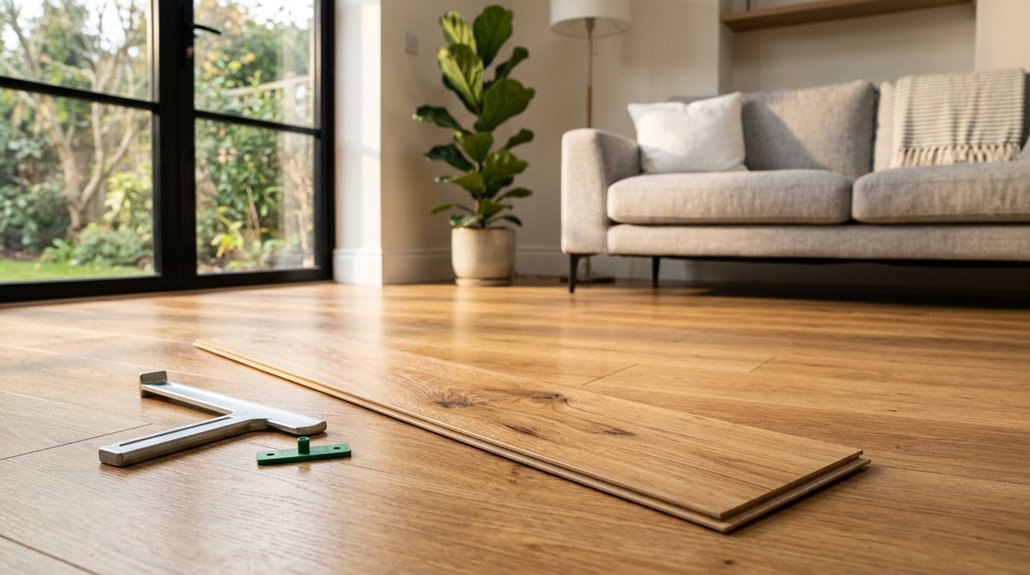


You need to acclimate your laminate boards for 48 hours before you start. Lay them flat in the room where they’ll be installed, stacked loosely with spacers between boxes. This lets the material adjust to your home’s temperature and humidity, which prevents buckling later.
Skip this step, and you’ll risk gaps, warping, or a floor that pops apart within months. The subfloor matters just as much as the boards themselves, so you’ll want to check that next.
Start Here: Acclimate Your Laminate 48 Hours Early
Why risk a botched floor? You skip laminate acclimation, and you’ll pay for it later. Warped boards, ugly gaps, a floor that looks amateur. Don’t let that happen.
Skip laminate acclimation, and you’ll pay for it later. Warped boards, ugly gaps, a floor that looks amateur.
Start Here: Acclimate Your Laminate 48 Hours Early
You bring the boxes into the room, you leave them sealed, and you wait. That’s it. To acclimate 48 hours means the boards adjust to your room conditions, expanding or contracting before you lock them down.
You keep cartons flat, unopened, away from windows and heat vents. Sunlight and radiators ruin the process.
You maintain normal indoor humidity, stable temperature, the climate you’ll actually live in. After two days, you open boxes, you plan layout, you begin laminate installation. The boards fit tight, they stay put, they look right. You did the wait. Now you get the reward.
Recommended Products

For use with wood subfloors only, to reduce vapor flow without trapping moisture


For use under floated laminate, bamboo and engineered wood floors
Level and Clean Your Subfloor First
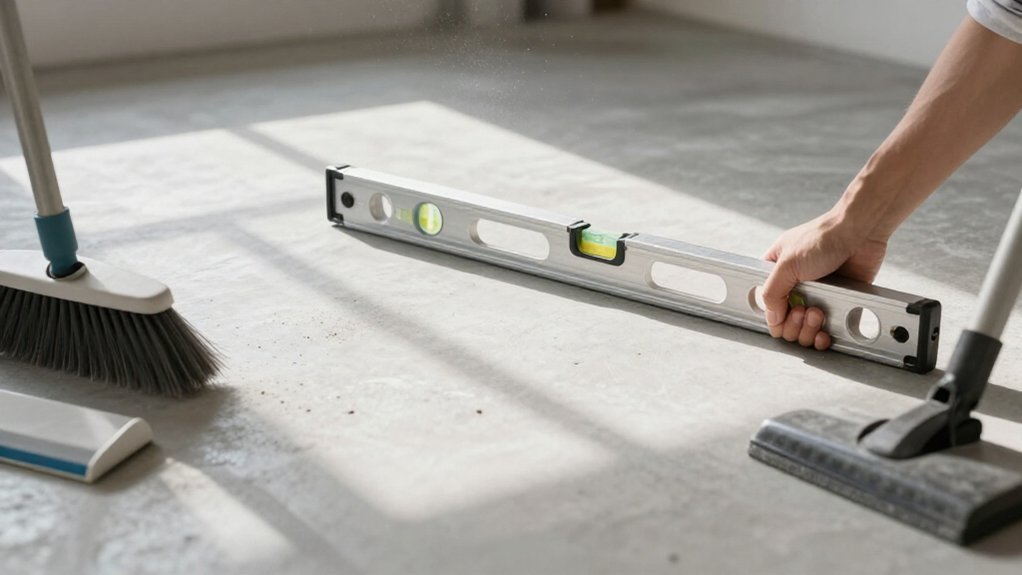
You’ve waited your 48 hours, and the laminate’s ready. Now, prep your subfloor properly. Remove old carpet, tack strips, and any protruding nails. Sweep, vacuum, and clean every inch of debris. You need a solid, flat base.
Check for high and low spots. Sand down ridges, or spread leveling compound to fill dips. On concrete, patch cracks and holes to create a uniform surface. Any irregularity will show through your planks, causing gaps or damage later.
Verify the subfloor is dry and stable before proceeding. Moisture warps laminate, so don’t rush this step.
If your planks lack attached padding, roll out underlayment now. This thin foam layer cushions the floor and helps planks fit together tightly. A level, clean subfloor ensures your installation lasts.
Recommended Products

Large Area Coverage: This floor underlayment covers 200 sq. ft / 18.6 m² per roll (665.35 x 43.31 x 0.12in /16900 x 1100 x 3mm). Ideal for large installations, it reduces construction time and material waste for quick, efficient flooring completion

Large Area Coverage: This floor underlayment covers 100 sq. ft / 9.3 ㎡ per roll (333.46 x 43.31 x 0.08inch / 8470 x 1100 x 2mm). Ideal for large installations, it reduces construction time and material waste for quick, efficient flooring completion
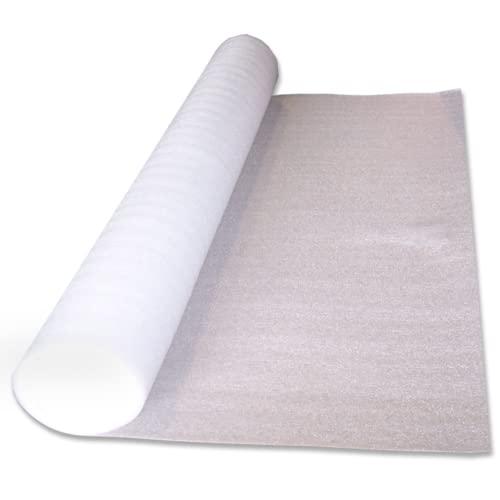
Multipurpose Foam Underlayment – Ideal for laminate and engineered wood flooring; bridges minor subfloor imperfections for a smoother surface.
Pick Underlayment With Vapor Barrier for Laminate
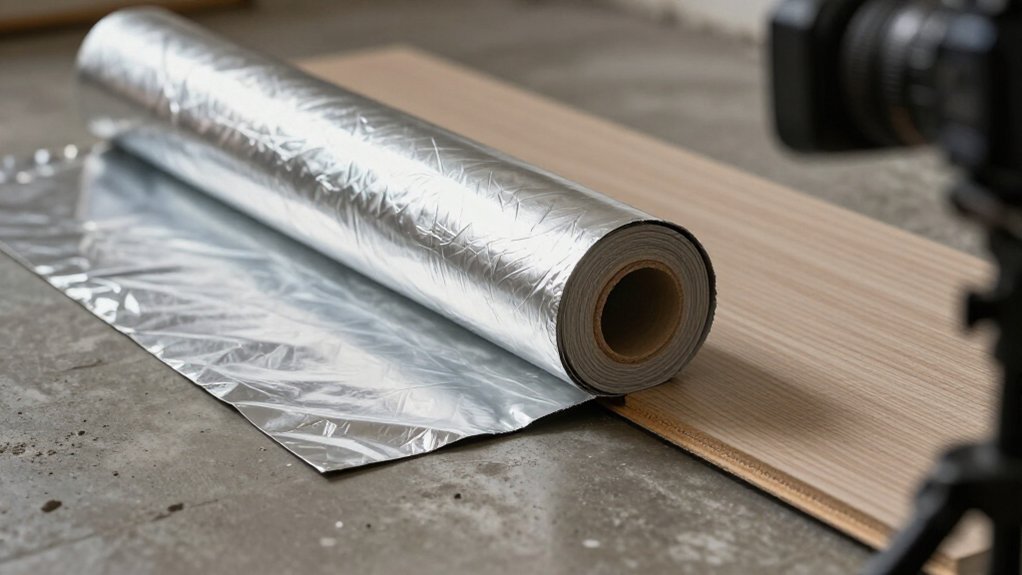
Where does moisture hide? It seeps from subfloors, especially concrete, and attacks your laminate flooring from below. You need solid moisture protection, and that starts with the right underlayment.
Choose underlayment with a built-in vapor barrier. This single layer blocks moisture and adds cushion, giving your floor a stable, comfortable feel.
Foam underlayment with a vapor barrier works well for most jobs. It resists water and quiets footsteps.
Check your laminate planks first. If they’ve got attached underlayment, skip the separate layer. If not, roll out your underlayment with vapor barrier before any planks go down.
For damp basements or humid climates, upgrade to cork underlayment or add extra moisture sealing. Lay it flat, overlap seams six inches, and tape them tight. No gaps, no bumps, no movement.
Recommended Products

Fiber-reinforced self-leveling floor underlayment for increased durability, tensile strength, and flexural performance

NO NOT ELMER'S GLUE— ENGINEERED FLOORING ADHESIVE: Elmer's is a water-soluble PVA designed for kids' craft projects — it washes out with a damp sponge and carries zero load. Injectafix is a purpose-built, low-viscosity structural adhesive engineered to flow beneath loose tiles and cure into a permanent, water-resistant bond that holds up under foot traffic, moisture, and temperature swings. Different chemistry, different category, different job.

Snap a Chalk Line to Guide Your First Row
How do you turn a floor plan into actual straight rows? You snap a chalk line to establish your layout and guide the first row with precision.
Here’s how you create proper alignment across your space:
- Measure the hallway wall-to-wall, then divide that number in half (42 inches becomes 21 inches) to find your center point.
- Mark this starting position on both walls, giving you fixed reference points you can trust.
- Stretch your chalk line between these marks, snapping it firmly to create a visible, straight guide.
- Extend this chalk line into adjoining rooms, transferring the same layout so your first row stays square everywhere.
This visible reference keeps your first row straight and every subsequent row aligned. Without it, your flooring drifts off-square, creating gaps and crooked seams you’ll notice immediately.
Recommended Products

For use as a vapor barrier when installing Vinyl, laminate, SPC and engineered wood flooring
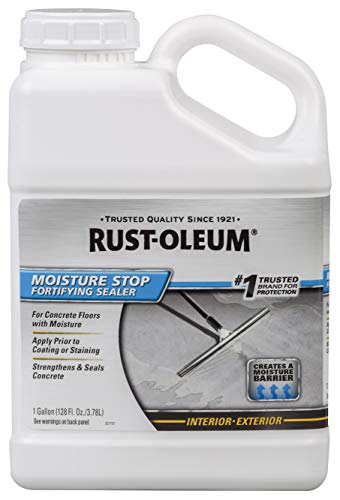
Seals concrete floors and prevents moisture leak through to allow for coating

✔ Self sealing adhesive tape for ease of installation
Measure Your Layout to Avoid Sliver Cuts
You’ll want to map your layout carefully before cutting any planks, since narrow sliver pieces at walls look bad and don’t hold well. Start by measuring wall-to-wall in your hallway, divide that number in half to find your center point, and mark this starting position clearly.
Use a 10-board layout cheat sheet to preview where your rows will begin and end, then snap chalk lines to carry that alignment into adjoining rooms.
Recommended Products

Large Area Coverage: This floor underlayment covers 100 sq. ft / 9.3 ㎡ per roll (366.14 x 39.37 x 0.12inch / 9300 x 1000 x 3mm). Ideal for large installations, it reduces construction time and material waste for quick, efficient flooring completion

Layout Planning Essentials
Start by measuring your room’s width to plan your first and last rows, leaving a 1/4-inch expansion gap along every wall. This starting layout prevents sliver cuts, those narrow, ugly pieces that weaken your floor’s edge.
Follow this layout planning sequence:
- Measure wall-to-wall, then divide by two to center your hallway (42 inches becomes 21 inches).
- Lay out 10 boards as a measurement guide to preview your start and end points.
- Snap chalk lines to transfer your planned layout into the room, guiding first row placement.
- Run planks longways down hallways, aligning with longest walls to reduce buckling risk.
Your expansion gap lets the floor expand and contract with seasonal changes. Without it, boards warp and buckle. These chalk lines keep your rows straight, your joints tight, and your installation professional.
Measurement Techniques
Where do you begin when a room’s edges could leave you with useless sliver cuts? You start with smart measurement.
First, measure wall-to-wall, then divide in half. A 42-inch span gives you 21 inches, your hallway starting point. Next, grab a 10-board layout cheat sheet. It estimates your start and end points, trimming waste before you cut.
Now, snap chalk lines. These transfer your measured layout into rooms, guiding that critical first row. Mark walls and your starting position against the hallway. This keeps your expansion gaps consistent, which prevents buckling later.
Finally, measure and mark to lock in your starting position. Check that the first plank fits your chosen direction, steering clear of doorways and transitions. You’ll dodge sliver cuts, saving time and material.
Test Your Layout Without Locking the Planks
Why commit to a locked floor before you’re certain it fits? You shouldn’t. Instead, you’ll test layout arrangements with loose laminate flooring planks before locking anything into place.
Follow this process:
- Lay your first test row along the starting wall, using your hallway orientation and wall measurements to project placement. Verify you’ve left proper expansion gaps, typically 3/8 inch, along every wall.
- Dry-fit alternate rows to check staggered seams, ensuring end joints don’t line up across adjacent planks, which weakens the floor.
- Confirm the tongue and groove edges align cleanly, so they’ll interlock later with just a gentle tap from your tapping block.
- Mark required cuts directly on planks during this run, noting dimensions to minimize waste when you commit to final installation.
Recommended Products

3in1 Vapor Barrier Underlayment | 500 sq. ft bundle (5 rolls each 100 sqft)

Large Area Coverage: This floor underlayment covers 200 sq. ft / 18.6㎡ per roll (732.28 x 39.37 x 0.12inch /18600 x 1000 x 3mm). Ideal for large installations, it reduces construction time and material waste for quick, efficient flooring completion

Large Area Coverage: This floor underlayment covers 200 sq. ft / 18.6㎡ per roll (665.35 x 39.37 x 0.12inch /16900 x 1000 x 3mm). Ideal for large installations, it reduces construction time and material waste for quick, efficient flooring completion
Install the First Row of Laminate With Spacers
Once your dry layout checks out, you’re ready to lock the real thing into place.
Start the first row in the corner, working left to right. You’ll interlock the tongue and groove connectors, pressing each plank firmly into the next. Before you begin, wedge spacers between the planks and every wall. These maintain expansion gaps of about 1/4 inch, which allow the floor to expand and contract as temperatures shift.
After placing each plank, tap it with a rubber mallet and tapping block. This locks the seam tight and keeps your line straight. Check that edges stay flush, and don’t rush the fit.
Leave all spacers in place, even after the first row looks secure. You’ll remove them only when the full installation is complete, ensuring nothing shifts while you build upward.
Recommended Products

AMERIQUE 800SQFT 4TH Generation Blue 1.5MM Thick Flooring;

ROLL SIZE - 200 sq. ft.
Stagger Seams as You Build Each Row
A proper stagger locks the floor together and keeps seams from lining up in weak, obvious rows. You need to stagger seams across your laminate flooring to build real strength into the floor. Follow these installation steps as you add rows:
- Start each new row with leftover cut ends, 6 inches or longer, from the previous row.
- Maintain a minimum offset of 6 to 12 inches between seams in adjacent rows.
- Angle each plank slightly to interlock it with the previous row, keeping seams staggered.
- Leave spacers in place until all rows lock tight, then check that offsets stay consistent.
You distribute joints across the room’s length this way, creating stronger transitions that you barely notice. Consistent staggering prevents weak lines, giving your laminate flooring professional durability.
Recommended Products

Gap-Lines Disappear Fast: Fill floor gaps, dark seams, narrow joints, and exposed edges on wood floors. Fill, smooth, and turn unsightly floor lines into a seamless finish for homeowners, renters, and DIY floor touch-ups.


【OVERSIZED 12CM SUCTION POWER】 Size matters for a secure grip. Our Floor Gap Fixer features an upgraded 4.7-inch (12cm) enlarged silicone base, providing 44% more surface area than standard 4-inch tools. This creates a massive vacuum seal that locks onto laminate and vinyl planks with industrial strength, ensuring zero slippage even when tackling stubborn gaps in high-traffic areas.
Cut Laminate Cleanly Around Doorways and Vents
You’ll measure doorway clearances by removing jambs or cutting precise relief with a jamb saw, then fit planks with the tongue facing the opening.
For vent openings, scribe the plank to match the perimeter, cut from the face for a clean edge, and sand for a tight fit. Test-fit every piece before final trimming, leave a 1/4-inch expansion gap, and cover it with transition molding for a seamless look.
Recommended Products

360 sq. ft. Coverage – Provides generous coverage for full rooms or multiple smaller flooring projects.

COVERS LARGE AREAS – Each roll of this flooring underlayment covers 200 sq ft and is 3 mm thick, providing a thick underlayment layer with an integrated moisture barrier for enhanced floor protection.
Measuring Doorway Clearances
Where exactly should you stop your flooring at a doorway? You’ll need precise doorway clearance measurements before cutting any laminate flooring planks.
Measure from the door jamb to the nearest wall, then subtract your expansion gap (1/4 inch to 3/8 inch) to determine plank width. Snap chalk lines wall-to-wall across the doorway, creating a layout line that guides first-row alignment.
Dry-fit a full plank into tight clearances before final cuts, transferring the cut outline directly onto the plank surface. Test fit cut planks with spacers maintaining the expansion gap, adjusting for tight spots to prevent buckling.
Use a jamb saw to trim precisely at thresholds, keeping cut edges facing the room for clean results.
Cutting Vent Openings
How do you handle the tricky spots where your flooring meets a vent or doorway? You’ll measure each opening precisely, transfer that mark to your plank with a pencil, then cut using a jamb saw or fine-toothed blade on a miter saw. Unlike vinyl installation, laminate demands extra care; always cut from the flooring side to protect the tongue groove, and place the piece face-down to check fit before committing.
Leave a 1/4-inch expansion gap around irregular openings, using spacers to hold position while you work. This spacing prevents buckling as temperatures shift.
Whether trimming doorways or boxing out vents, clean edges matter; finish cuts with a laminate cutter or sanding block for flush, gap-free transitions against walls and vent surrounds.
Install Base Molding Over Expansion Gaps
Why leave that gap exposed when a clean finish is this simple? You’re ready to hide those expansion gaps and lock in a professional look. Here’s how you handle this final step:
- Measure your perimeter, then cut base molding to cover the 1/4 inch to 3/8 inch gap between your laminate flooring and the wall.
- Choose quarter-round or shoe molding for a tight transition profile that won’t pinch the floor.
- Nail or glue the base molding to the wall stud or existing baseboard, never to the laminate itself.
- Check that the molding sits flush against the floor while letting the laminate move freely underneath.
You’ve planned for expansion gaps from day one; now you’re finishing smart. The floor floats, the trim stays put, and your room looks complete.
Recommended Products
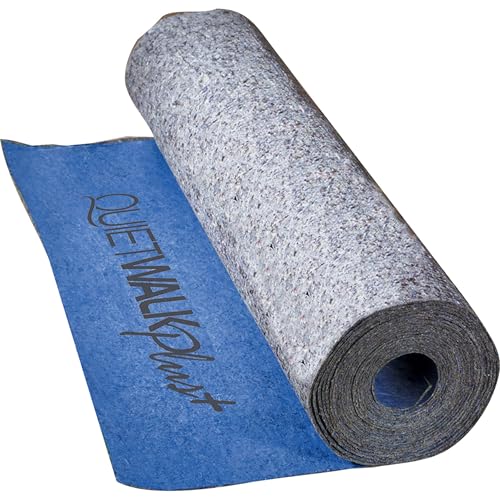
Covers 360 sq ft of laminate, hardwood, and engineered wood flooring


Covers 100 sq ft of laminate, hardwood, and engineered wood floors