
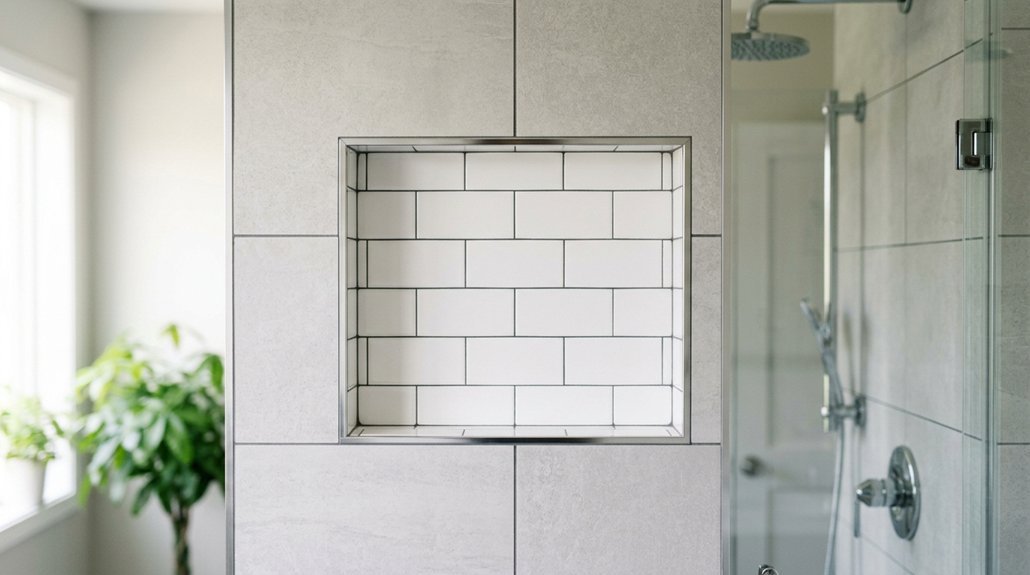


You want a shower niche that won’t pool water or fail behind tile. Start by picking your spot: align with the longest wall, stay clear of the valve, and aim for a 42- to 48-inch reach height with a 13-inch finished opening.
Frame between existing studs, add solid blocking, and build your box with a 1- to 2-degree forward slope so moisture drains out. Test fit everything plumb, then prep for cement board, waterproofing, and tile.
The real challenge comes after framing, and one skipped step there can undo your whole build.
Choose Your Shower Niche Location and Dimensions
Where should your shower niche go, and how big should it be? You decide between vertical orientation and horizontal orientation, though vertical niches often win for streamlined framing and maximum storage.
Your shower niche location matters: pick the longest wall, stay away from the shower valve, and keep within the pan footprint to cut down splash.
For niche dimensions, target an opening width around 13 inches, backerboard size at about 12 inches, and finished niche depth of 3.5 inches. Your reach height should land 42 to 48 inches from the floor, the sweet spot for typical adult access.
Check your tile pattern alignment before you commit; if plumbing or layout demands, adjust so grout lines meet niche edges clean. You plan once, you build once, you tile once.
Recommended Products

Waterproof Shower Niche - Provides a fully waterproof surface, perfect for showers and wet areas, ensuring long-lasting durability.

Long-Term Coverage - Backed by a 10-year limited warranty against manufacturing defects when installed per the Schluter Installation Handbook and Technical Data Sheet, following all guidelines and industry standards in effect at the time.
Size Your Niche Opening to Fit Between Studs
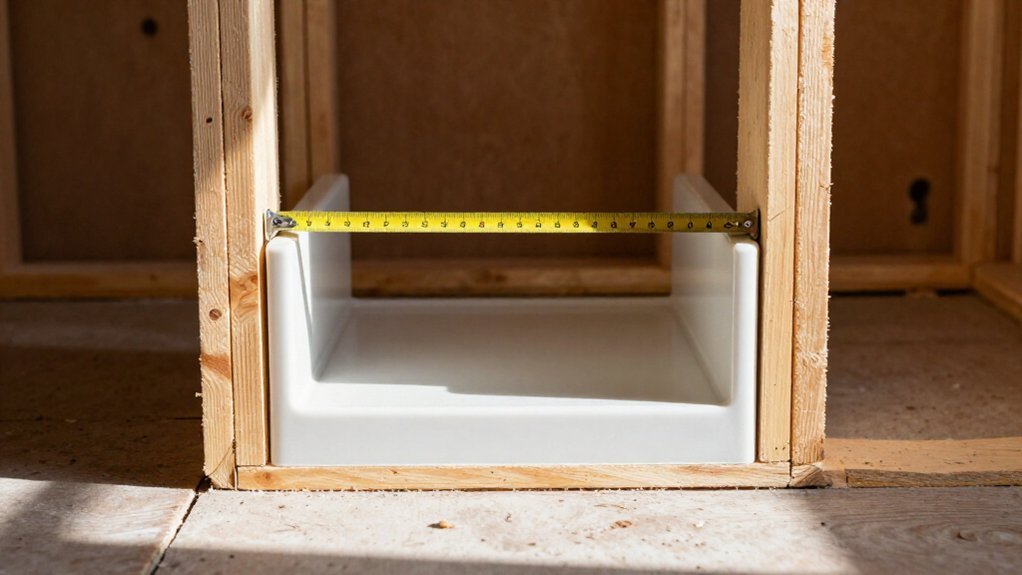
How do you make sure your niche fits without tearing up the whole wall? You measure the width between studs first, working with standard 16-inch on-center framing to maximize your niche opening without extra cutting. Your typical finished opening lands around 13 inches wide (rough opening), shrinking to 12 inches after backerboard goes in, then roughly 11 inches once tile depth accounts for spacing. Plan your niche size accordingly.
Position it on the longest wall, well away from the shower valve, avoiding spray exposure and plumbing conflicts. For a floor-to-ceiling look, frame with solid double studs on both sides, adjust that stud bay width to about 13 1/8 inches, and add bottom bracing. You’ll still incorporate that slight forward pitch on the bottom during construction to prevent water pooling.
Recommended Products

1. DOUBLE-SHELF RECESSED STORAGE Designed with 2 spacious shelves to organize shower products, kitchen seasonings, cosmetics, and decorative items. This recessed wall niche helps keep your room tidy without bulky shelves sticking out from the wall.

Pre-Sloped Base Design: Upgrade your bathroom with the W-S Shower Niche by GURU USA; The shower niche features a 1.9% pre-sloped base, ensuring proper water drainage and preventing any unwanted moisture buildup

Built-in Waterproof Shield - Incorporates Schluter-KERDI waterproofing, eliminating the need for traditional mortar bed setups, ensuring a watertight seal beneath your tile surface.
Build the Shower Niche Box With a Sloped Bottom
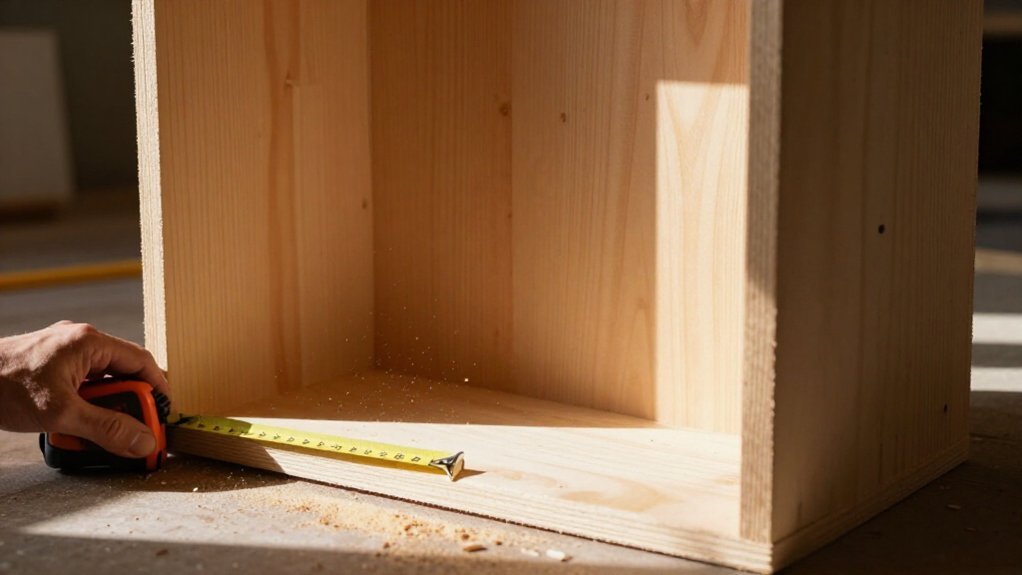
You’ll frame the niche box between studs, secure it plumb, and add blocking if needed to maintain a stable 3.5-inch depth. Then you’ll attach cement board to the back and wrap it around the opening, creating a flush, waterproof surface for tile. Most importantly, you’ll pitch the bottom forward by 1 to 2 degrees so water drains out instead of pooling.
You’ll test the fit before waterproofing to confirm the slope angles toward the shower.
Recommended Products

Superior Water Resistance:Our shower niche boasts unparalleled waterproofing capabilities, engineered through rigorous processes to create an impenetrable barrier against water. Every corner is meticulously sealed and reinforced to safeguard your bathroom walls from moisture ingress.

【Dimensions】 Embedded shower niche 12.8 inches wide x 18.8 inches high x 3.9 inches deep, can be installed vertically, dividing items into two layers for placement, or installed horizontally, organizing items separately, with sufficient storage capacity inside the shelf.

Sealed and 100% Waterproof: VEVOR shower bays use XPS extruded foam board, cement mortar, waterproof coating triple waterproof substrate, 100% sealed and waterproof, which not only can protect the wall and extend the service life of the wall but also effectively prevent water penetration into the wall, keep the indoor dry and sanitary. Note: This product is not ready for direct use. Surface layer, such as tile, must be applied to the surface before use!!!
Framing the Niche Box
Why settle for a flat niche bottom when a slight slope keeps your shower dry? During framing, you’ll build the niche box between studs, cutting pieces that fit snugly within the wall cavity. Check that your niche box sits plumb, with sides straight and in proper alignment with your future tile layout. Pitch the bottom forward 1 to 2 degrees so water drains out, preventing pooling that leads to mildew.
Secure the niche box with blocking between studs or extra framing members, locking everything in place for lasting stability. This prevents movement during installation and daily use. Wrap cement board around the niche opening edges, protecting them for waterproofing and tile.
Keep your shower niche framing tight, precise, and ready for the next step.
Adding Cement Board Backing
Where exactly does your niche get its backbone? You’ll add cement board backing to your framed shower niche, securing it between studs for solid support. Cut your cement board to fit the niche box back, then attach it firmly to create reliable backing material for your tiled niche.
Before wrapping with cement board, confirm your framing sits plumb and level between studs. You’ll integrate the niche box with a slight bottom pitch, 1 to 2 degrees, so water drainage directs forward. This angled base prevents pooling behind your finished surface.
Wrap cement board from the niche back to its front edges, blending into surrounding shower walls for seamless niche integration. Test fit everything before waterproofing, checking alignment and plumb sides. Proper backing now prevents cracked grout later, saving you costly repairs.
Creating Proper Drainage Slope
Build the shower niche box with a sloped bottom, and you’ll stop water from pooling where you store soap and shampoo. Frame your shower niche between studs, then attach cement board for solid backing. Cut the bottom piece with a 1 to 2 degree forward bottom pitch; this slight angle directs water toward the front, not back into your wall.
Check that everything sits plumb and square before you secure it, so your drainage slope aligns with the tile layout. You need a continuous water path, meaning the sloped bottom must flow seamlessly into the niche interior, no flat spots where mildew grows.
Apply an interior waterproof membrane to the sloped surface first, then extend to surrounding areas. This layered waterproofing keeps your tiled niche dry, durable, and problem-free for years.
Install Blocking and Secure the Box Between Studs
Once you’ve cut the niche opening, you’re ready to lock the box into place. Position your shower niche between the studs, then install blocking above and below to secure it firmly. This framing prevents any movement during tiling or waterproofing.
Check that the alignment is plumb and the sides are straight. Adjust the studs or add shims if needed. Your niche depth should finish at 3.5 inches to fit standard bottles.
If your studs sit too wide, nail plywood strips to reduce the bay to about 13 1/8 inches for proper spacing. Verify the niche lines up with your shower pan edge and tile layout now. You’ll attach cement board next, so take time to get this framing right.
Recommended Products

Long-Term Coverage - Backed by a 10-year limited warranty against manufacturing defects when installed per the Schluter Installation Handbook and Technical Data Sheet, following all guidelines and industry standards in effect at the time.

Fitment of 12"x12" Shower Niche: Shower niche insert tile ready with 12"x12" inner size, Embedded Size 13"x13" of the wall, Depth 4"; Fit for shampoo bottle under 12" height and under 4" width; Please note: If you are going to tile on the shower niche, the thickness of the tiles will reduce the inner space of the shower niche, such as height, width and length; So the 12" high bottle is hard to fit in.
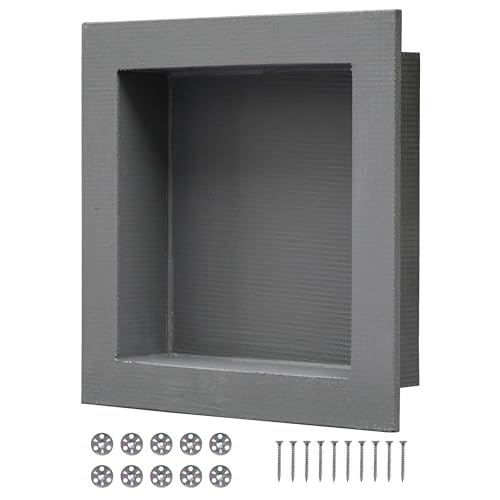
Creative Flexibility: This niche requires tiling. Using the same tiles as your wall creates a seamless and consistent look for a unified bathroom aesthetic. Choosing different tiles allows you to personalize the space and highlight your unique style
Cut and Attach Cement Board Around the Opening
With the niche locked between studs and blocking, you’re ready to sheath the surrounding wall in cement board. Measure your shower niche opening carefully, then cut the cement board to fit precisely around the framing. You’ll want flush contact between the backer board and the niche box on every side, no gaps.
Secure the cement board to the studs with corrosion-resistant screws, spacing them every 8 inches. Wrap the backer board around the opening so the surface stays continuous; this integration matters for waterproofing later. Check that the niche box doesn’t shift during this process; the blocking you installed keeps it stable.
Maintain that slight forward pitch on the bottom, about 1 to 2 degrees, so water drains out. Double-check all edges sit flat before you move on.
Recommended Products

→【Functional Design】: Three layers of storage with a space-saving vertical recessed design. Includes sloped drainage, easy-clean shelves, and is waterproof and rust-resistant and long-lasting use

Sealed and 100% Waterproof: VEVOR shower bays use XPS extruded foam board, cement mortar, waterproof coating triple waterproof substrate, 100% sealed and waterproof, which not only can protect the wall and extend the service life of the wall but also effectively prevent water penetration into the wall, keep the indoor dry and sanitary. Note: This product is not ready for direct use. Surface layer, such as tile, must be applied to the surface before use!!!
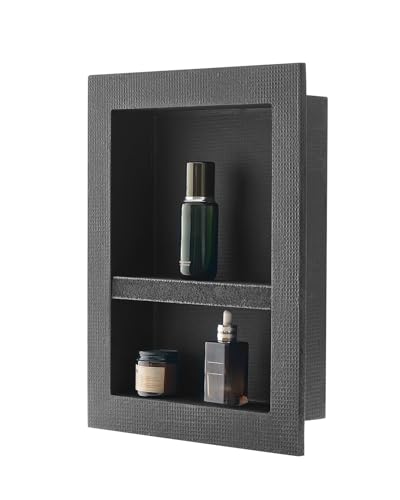
Sealed and Waterproof: The insert shower niche uses a triple-layer waterproof base of XPS foam board, cement mortar, and waterproof coating, ensuring 100% sealing. It safeguards walls from wet and humidity, extending their lifespan and avoiding water penetration, keeping interiors dry and hygienic. Note: This product needs to be used in conjunction with waterproofing materials, not on its own!!!!
Tape Seams and Embed Thinset for Strength
Why skip this step? Cracked tile and water damage will ruin your bathroom remodeling. After framing your shower niche and cutting cement board for the interior walls, you must secure every weak point before tile layout begins.
Start with alkali-resistant mesh tape. Apply it across all seams and press it into inside corners, covering joints where cement board meets framing. Mix thinset to a smooth, peanut butter consistency. Embed the tape completely, eliminating bubbles and gaps. Spread a thin skim coat over screw heads and edges.
Use a putty knife to crisp the corners. Let everything dry solid, usually 24 hours, before waterproofing. This creates a stable, crack-resistant base. Your tile will last, and you’ll avoid callbacks. Check for gaps now; waterproofing won’t fix poor prep.
Recommended Products

SIMPLE INSTALLATION - Flush with Cement Board Installation. Pre-fabricated flush-mount installation shower niche that is fully sealed, hassle-free, quick and easy installation; makes traditional tedious shower niche installation effortless!
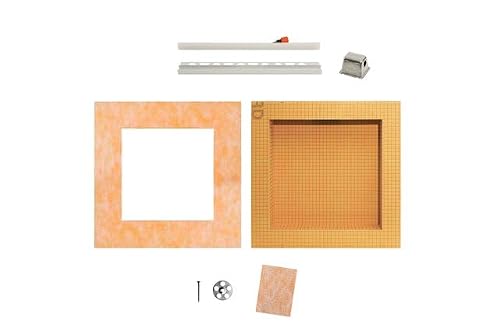
Illuminated Shower Niche - Enhance your shower space with integrated LIPROTEC LED lighting, creating a sleek, modern look while improving visibility.

Installed during tiling (cannot be installed in a finished shower niche)
Waterproof the Shower Niche and Wall Seam
How do you lock out moisture where your niche meets the wall? You start by coating all interior surfaces of the shower niche with liquid waterproofing membrane, including the bottom, corners, and corner joints. Use a 2-3 inch brush for tight areas, ensuring complete sealant coverage over every screw head and seam.
Overlap the wall seam by 6-8 inches to build a continuous water barrier, connecting niche reinforcement to surrounding walls. Let the first coat dry 1-2 hours, then apply a second coat.
After curing, begin your tiling sequence on the back wall, then side walls, then remaining sides. This order protects grout lines and maintains your water seal.
Check that every edge at the box-to-wall interface has full coverage before setting any tile.
Recommended Products

Built-in Waterproof Shield - Incorporates Schluter-KERDI waterproofing, eliminating the need for traditional mortar bed setups, ensuring a watertight seal beneath your tile...