
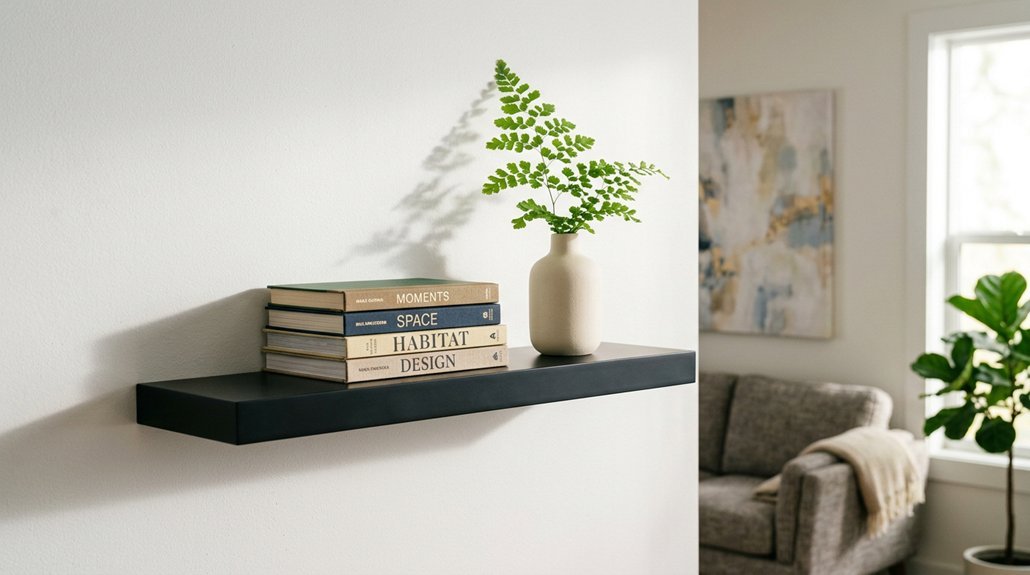


Renters drill over 4 million unnecessary holes in walls annually, most for simple storage solutions. You can skip the damage entirely. Five proven methods exist for secure, drill-free floating shelves, each matching specific wall types, weight needs, and room layouts. The right approach depends on your surface, your items, and how long you need storage to last.
Here is what actually works, with exact steps, realistic load limits, and maintenance timelines. You will avoid costly repairs, keep your deposit intact, and gain flexible storage that moves when you do. The first decision: know your wall, or risk shelves that slip, sag, or fail within weeks.
Check If Your Wall Can Handle No-Drill Shelves
Before you buy a single bracket, you need to know what you’re working with. No-drill shelves demand specific conditions to function properly, so assess your wall type first. Smooth, painted drywall and tile work best. Wallpaper, brick, unpainted plaster, or textured walls will sabotage adhesion.
Surface prep determines success or failure. Clean your wall with rubbing alcohol, not just water, and let it dry completely. Any grease, dust, or moisture weakens the bond.
Check the weight limit before loading anything. Most no-drill shelves handle 5 to 15 pounds. Exceed this, and you’ll find your items on the floor.
Adhesion also suffers from humidity swings and temperature shifts. If your bathroom steams up or your kitchen gets hot, expect problems. Choose your location wisely, or you’ll reinstall repeatedly.
Recommended Products
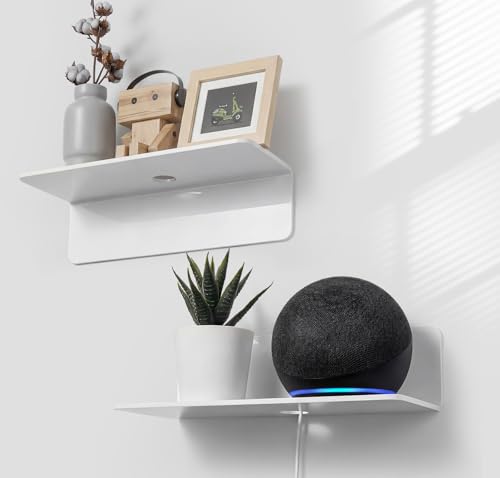
PROFESSIONAL QUALITY: The white floating shelves are made of high-quality acrylic with sturdy double-sided tape that is very reliable to hold up to 8 pounds.

6 * 2.75 inch 6 pcs adhesive shelf bracket, wider contact area, stronger adhesion and load-bearing;Peel off the protective film on the back and stick it on a smooth surface

No punching and self-adhesive: Shelf bracket, support the board without nails. Peel off the protective film on the back and stick it on a smooth surface
Install Adhesive No-Drill Shelves That Actually Hold
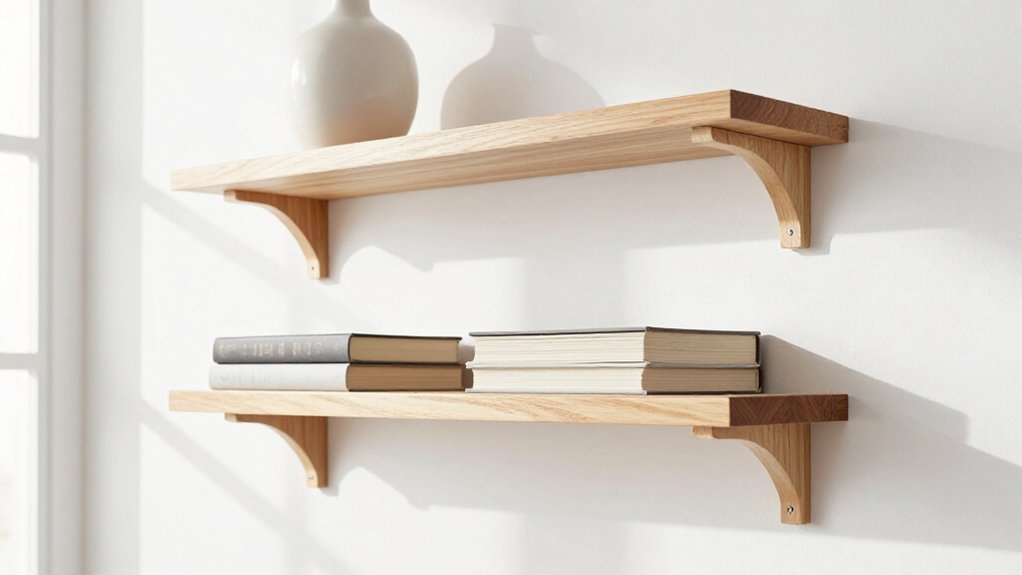
Why gamble with flimsy stick-on strips when you can build shelves that stay put? Grab Bostik No More Nails and lightweight wood blocks for adhesive shelves that handle real use.
Prep and Apply
Squeeze a liberal bead of No More Nails onto the wall-side edges of each block. Press firmly against smooth, flat surfaces: painted drywall or tile work best.
Textured walls or unpainted plaster weaken the bond, so test your surface first.
Wait, Then Load
Let the adhesive cure 24 hours before adding items. Typical weight capacity runs 5–15 pounds per shelf, depending on wall type and adhesive coverage.
Humidity and temperature shifts affect long-term hold, so check adhesion periodically.
Finish Strong
Measure twice, align symmetrically, and add non-slip pads to prevent sliding. Your no-drill setup stays secure with proper prep.
Recommended Products

Functional and Decorative Shelves: These 3 pack floating shelves offer adequate space to help clear the clutters, organize and display collectibles, decor items, books, small plants, bottles, bathing products and more. The items on the shelf for wall will have better sense of layering, a nice wall decor to fit your home space.

Functional and Decorative Shelves: These 3 pack floating shelves offer adequate space to help clear the clutters, organize and display collectibles, decor items, books, small plants, bottles, bathing products and more. The items on the shelf for wall will have better sense of layering, a nice wall decor to fit your home space.

INCLUDES – 2 display ledges, 8 medium strips; 1 display ledge holds 2 lbs
Use Tension Rods for No-Drill Storage in Tight Spaces
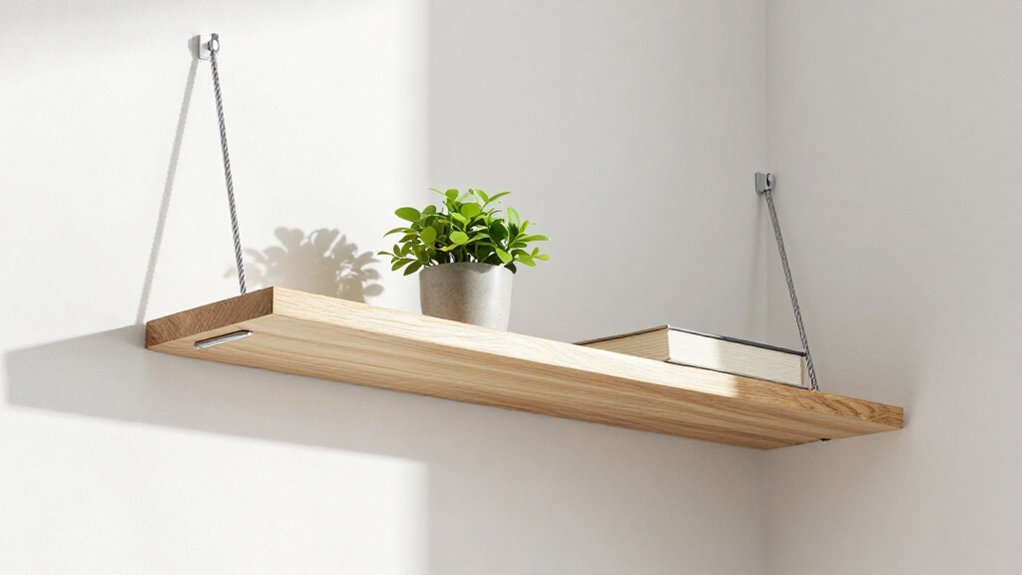
Where do you squeeze extra storage when walls won’t cooperate? You reach for tension rods, the no-drill solution built for tight spaces.
Tension rods extend or shorten to grip between floor and ceiling, no mounting hardware needed. You twist them into place, letting vertical pressure do the work. They create stable storage in doorways, between cabinets, or any narrow gap where two surfaces sit close enough for a tight hold.
Where They Work Best:
- Doorway nooks
- Gaps between cabinets
- Small alcoves with parallel surfaces
Where They Fail:
- Uneven or fragile surfaces
- Areas holding heavy, bulky items (these loosen tension, cause falls)
You reposition or remove them in minutes, leaving zero wall damage. For renters and cautious planners, this no-drill storage delivers flexibility without commitment.
Recommended Products
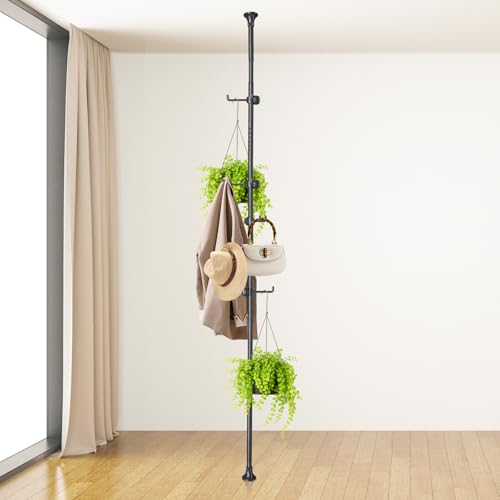
SPACE-SAVING STORAGE, NO DRILLING -Turn an unused corner into extra hanging space without drilling holes, using tools, or taking up much floor space. The floor-to-ceiling tension design is great for apartments, closets, entryways, bathrooms, laundry rooms, RVs space and small homes.

【Fully Adjustable from Floor to Ceiling】: DAOYA shower caddy features a tension pole that extends from 25 to 114 inches (63.5-290CM). The integrated leveling spring ensures zero wobbling, allowing you to position it securely on the bathtub edge or the shower floor. With 4 spacious baskets and free spacing adjustment, everyone in the family can easily reach their shampoo.

【Superior Material】 Made from high-quality stainless steel tubes and featuring advanced coating process corner shower baskets, this telescopic shower caddy corner is durable and rustproof. The tension pole design ensures longevity even in humid environments.
Set Up Freestanding Shelves With Zero Wall Contact
If you want the look of floating shelves without touching your walls at all, freestanding units give you that freedom. These freestanding shelf systems deliver zero wall contact, meaning you position them anywhere without drills, studs, or damage concerns. They’re ideal for rentals where lease restrictions forbid modifications.
Consider these four practical advantages:
- Position your shelf between furniture, in doorways, or against walls for flexible storage
- Combine multiple units to create the illusion of floating storage without mounting
- Relocate easily when you rearrange or move to new spaces
- Distribute weight evenly across base platforms to prevent tipping
For stability, place heavier items low and center. Lightweight, open-frame designs maintain airy aesthetics while providing genuine utility.
You gain portable storage with complete placement freedom.
Recommended Products
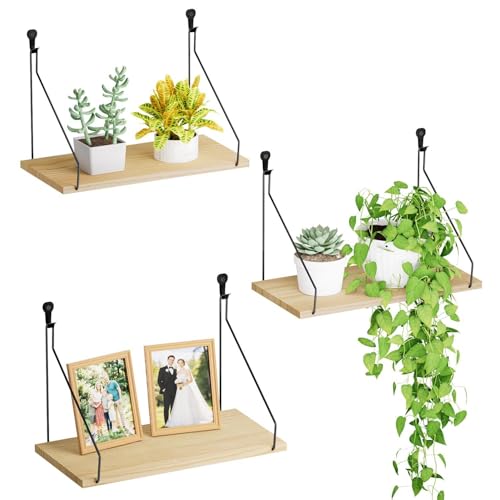
【Two Mounting Options – 7 lbs & 15 lbs Capacity】 Comes with two sets of hooks: cute plant-pattern adhesive hooks (hold up to 7 lbs) for smooth walls, and sturdy heart-shaped metal hooks (hold up to 15 lbs) for wood, brick, or concrete. Choose between no-drill or nail installation to suit your space.

【Attention】Please make sure to read the fourth picture when installing with adhesive to determine if your wall is suitable

【Professional Design】: Each acrylic wall shelf measures 9" L x 3.54" W x 2.36" H, Weight capacity is 12lb if installed by screws, and it can hold up to 5.0lb if installed by tapes.
Maintain No-Drill Shelves and Fix Loose Adhesion
How often do you check your adhesive shelves? You should inspect them monthly, looking for gaps, sagging, or peeling edges. When you spot trouble, act fast.
Reapply or Replace Adhesive
You remove the shelf, peel off old Command Strips, and install fresh adhesive strips. You press firmly for 30 seconds, then wait one hour before loading items.
Watch Your Weight****
You keep loads lightweight, typically 5–15 pounds per shelf. You spread items evenly, placing heavier objects toward the center.
Prep Surfaces Right
You wipe walls with rubbing alcohol, let them dry fully, then reattach. You skip textured, porous, or wallpapered surfaces; they weaken the bond.
Know When to Switch
If humidity keeps killing your grip, you consider repositioning the shelf or upgrading to tension rods, freestanding units, or other non-adhesive options.
Recommended Products

Material: Eco-Friendly Silicone: Our self-stick non-slip pads are crafted from harmless, soft, eco-friendly silicone, ensuring a strong adhesive backing for superior grip. Perfect for anti-skid furniture pads, these silicone pads are an ideal choice for eco-conscious consumers.

【The Non Slip Furniture Pads are Great option for making any surface non-slip】The Non slip furniture pads use silicone material with good anti slip effect. Preventing furniture from sliding on tile or hardwood floors.Ideal for preventing sliding on any surface.such as magnets glass, plastic, ceramic, wood, etc. such as hand-held coffee grinder,incense burner, keyboard, equipment, frame,metal water bottle,headphone holder,microwave,other item that is sliding around your desks,etc.

Glass Table Pads are sticked between the glass material and the table surface to prevent sliding.