



Picture a wall lined with books, plants, and photos, all suspended on shelves that seem to float in midair. You can achieve this clean look in three straightforward steps, starting with hidden mounts that disappear completely behind the wood.
First, you’ll locate studs with a stud finder, mark precise screw positions along your shelf’s width, and use a laser level to make sure everything lines up perfectly. Next, you’ll drill square pilot holes, insert wall anchors where studs aren’t available, and drive screws perpendicular to the wall for secure mounting points. Finally, you’ll slide the shelf onto those screw heads, verify it’s level, and test weight capacity by adding items gradually. The result is storage that looks effortless, even though you’ve built it yourself.
Choose Your Hidden Mount and Lay Out Shelf Placement
Your hardware choice shapes everything that follows, so pick a hidden bracket system rated for your setup: five shelves, each 18 inches long, 3/4 inch thick, carrying light to moderate loads.
Choose hidden brackets rated for your specs: five 18-inch shelves, 3/4-inch thick, with light to moderate load capacity.
Map Your Layout
Grab your stud finder and locate wall studs now; you’ll need this data for anchor decisions later. Determine each shelf’s position from the floor, marking inter-shelf spacing at 9.75 inches between top and bottom units, and 10.5 inches from the wall.
Transfer Hole Patterns
Apply Frogtape aligned to shelf width, mark screw positions, then measure between holes. Replicate this spacing on your wall marks for precision.
Verify Level Placement
Align a laser level with screw holes, not tape edges, to confirm mounting points stay level. Check your base shelf position first; everything else builds from this foundation.
Recommended Products

✓ HIGH-QUALITY METAL MATERIALS: Our shelf support is made of thick and heavy duty iron materials.Features a thick black matte surface coating that delivers enhanced water resistance and effective anti‑rust performance for long‑term daily use.

The bracket has a 1.5" backplate and is designed for use with boards 2" thick or more. NOTE: The board thickness we refer to is the actual (not nominal) size.
Drill Square Pilot Holes and Install Wall Anchors
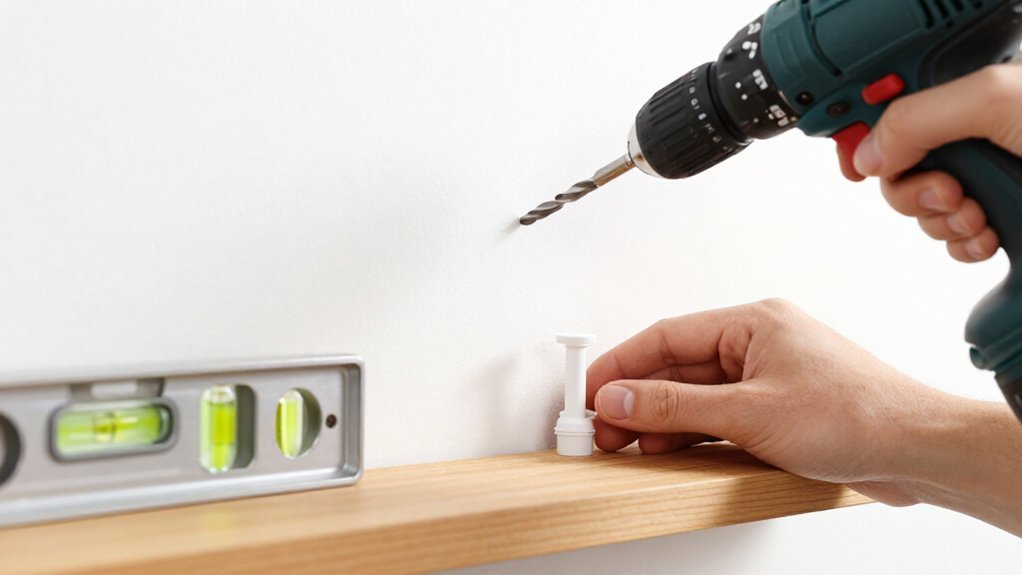
How do you keep a floating shelf from sagging six months down the line? You drill square pilot holes and install wall anchors properly, that’s how.
Mark Your Spots
First, grab your stud finder. Verify stud locations before you drill pilot holes. If an anchor will hit a stud, you’ll get maximum holding strength. No stud? You’ll need wall anchors.
Drill with Precision
Use a punch tool to create indentations at hole centers. This guides your bit for accurate anchor placement. Drill square pilot holes to ensure clean screw seats, and prevent wood splitting during the wall anchors process. Keep your drill perpendicular to the wall.
Set Your Anchors
Select wall anchors rated for your shelf weight and wall type. Install them flush with the wall surface. Drive screws square to the wall, avoiding any tilt or skew once your shelves mount up.
Recommended Products

TIPS: 1. Calibration is necessary before using the stud finder function. 2. Laser level is manual-leveling, not self-leveling, please use the two bubble vials for accurate horizontal, vertical and cross lines. 3. Two bubble vials only work and light up when the Laser Mode is active, not in the detection mode. 4. Self-adhesive strips are not suitable for dusty, coarse surfaces, wallpaper, or drywalls, etc. Replace the strips if they are dirty or not sticky. 5. Class II laser safety product, output < 1mW. 6. Note: NOT designed for use on LATH and PLASTER WALLS. Works best on DRYWALL and WOOD WALLS
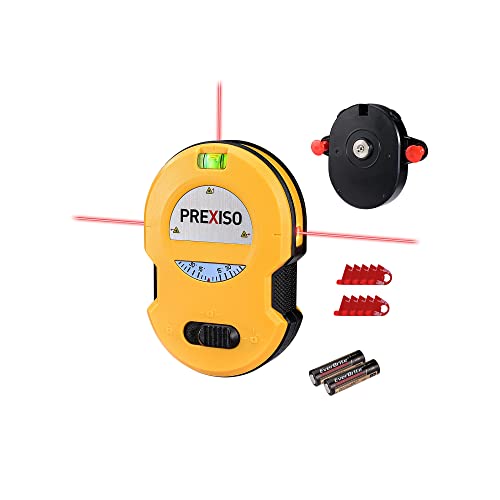
NOTE: This product is not a stud finder or a magnetic nail finder

Two-In-One Accuracy - Two-In-One Line Laser And Stud Sensor Made For Hanging And Straightening Tasks At Home
Hang Floating Shelves Level and Test Weight Capacity
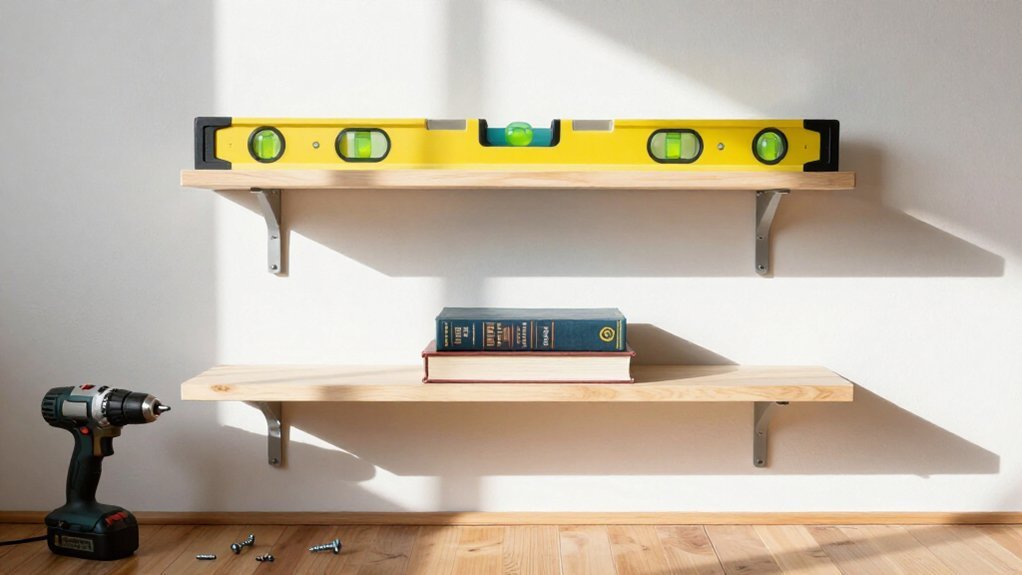
With your wall anchors set, it’s time to hang those shelves straight and make sure they’ll hold. Grab your laser level, align the mounting points with the holes you marked on Frogtape, and confirm each shelf sits level across its width. For 12x6x3/4 inch shelves without brackets, position screws 1–2 inches from each end. This maximizes stability while keeping hardware hidden.
Verify the base shelf is level and square first, then align subsequent shelves relative to it for consistent results. If you missed studs, use heavy-duty anchors rated for all five shelves plus contents to prevent pull-out.
Run your level test by loading each shelf gradually with small books or decor. Check for sag or tilt before proceeding to the next shelf.
Recommended Products

MULTIPLE SIZE OPTIONS – This heavy duty toggle bolt assortment includes 3 sizes (1/8 in, 3/16 in, 1/4 in) to help you choose the appropriate size for drywall anchor applications based on wall type and intended use. Suitable for selected hanging projects such as hanging pictures, curtain rods, and plants when used correctly. Please refer to the size chart and installation guidance before use.

TOGGLER SNAPTOGGLE Drywall Anchor – 1/4"-20 UNC Zinc-Plated Snaptoggle Anchors – Holds 265 lbs on Drywall, 802 lbs on Concrete Block – Toggle Bolts for Mounting Cabinets and TV – 20 Pack (With Bolts)

Residential drywall anchor provides a firm hold from within 3/8"- to 1/2"-thick drywall